


Nanoleaf
Nanoleaf Lines 60 Degrees Expansion Kit (3 LED Light Lines)
Nanoleaf Lines 60 Degrees Expansion Kit (3 LED Light Lines)
Couldn't load pickup availability
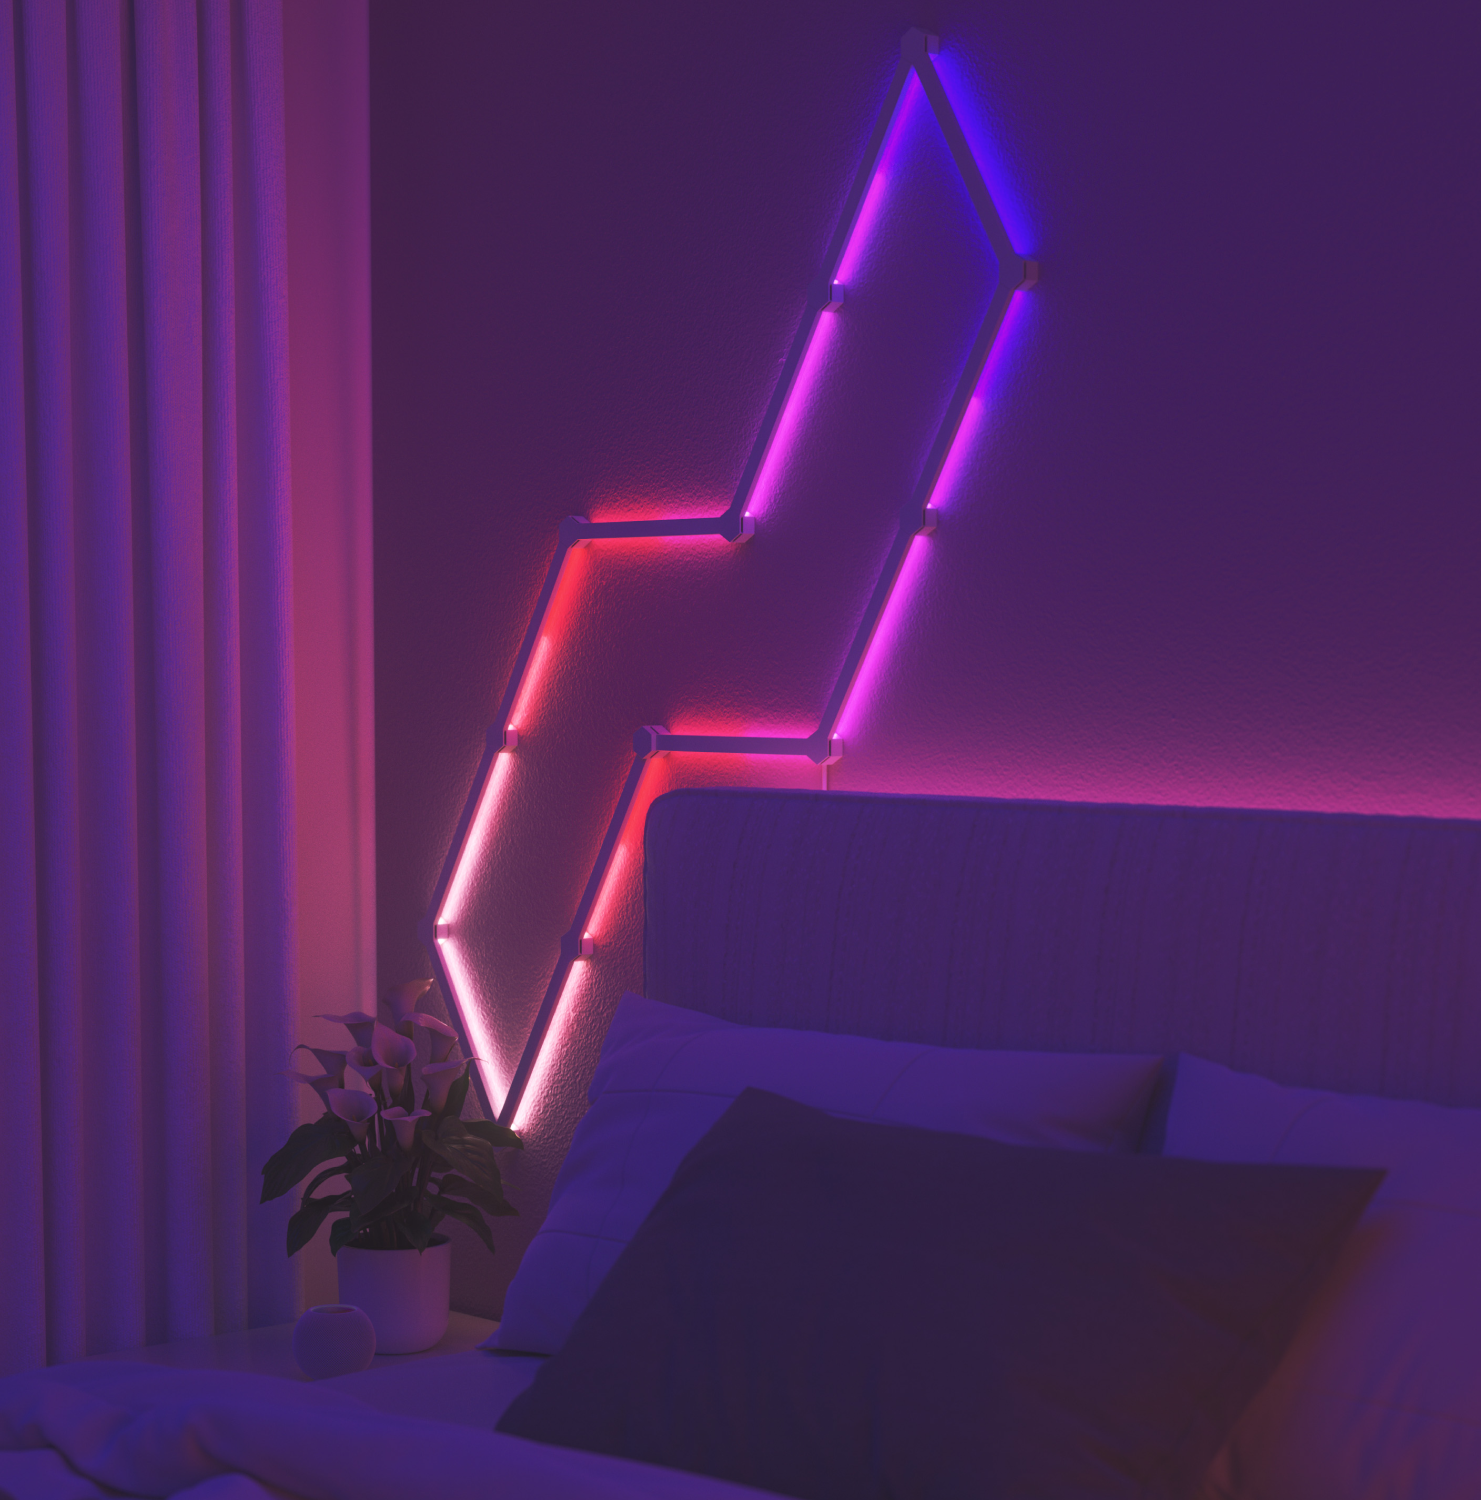
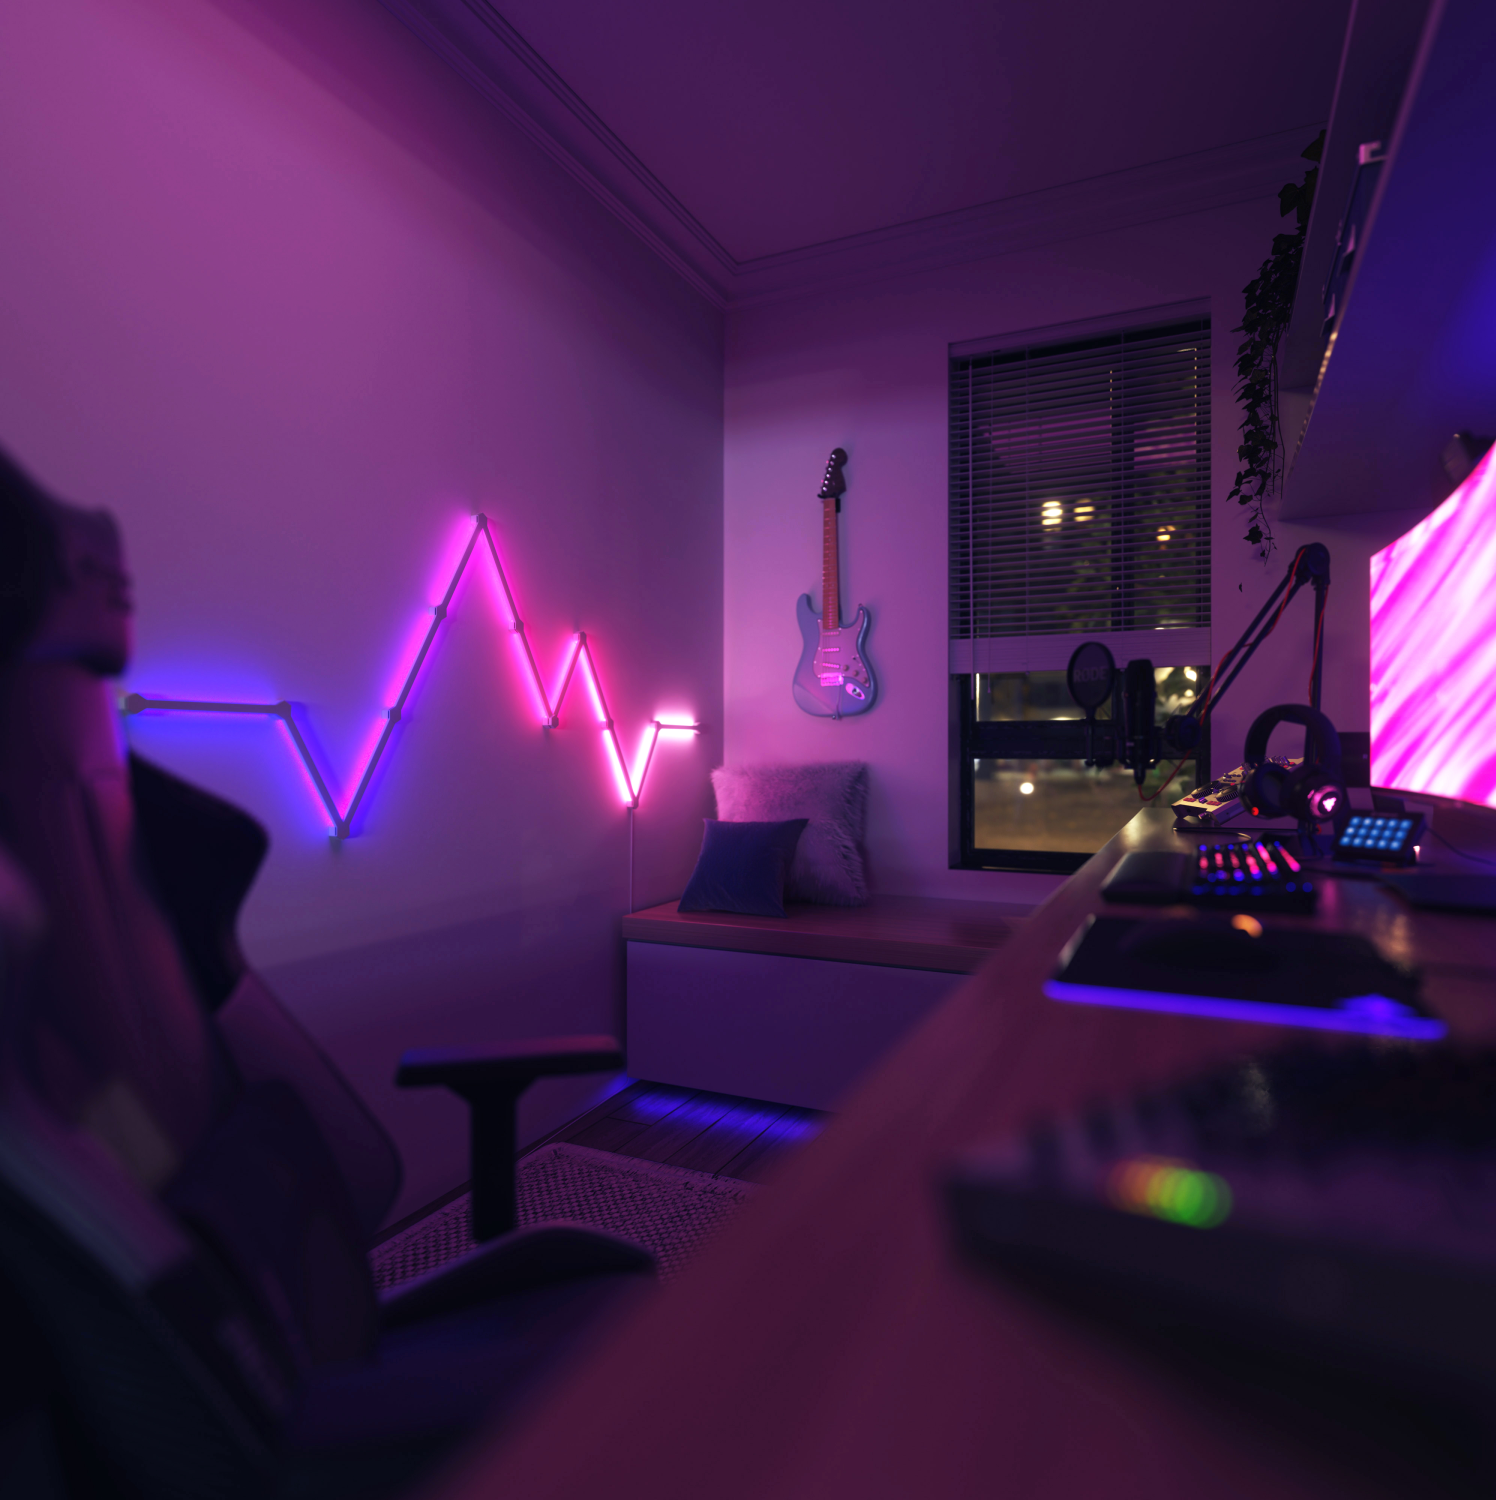
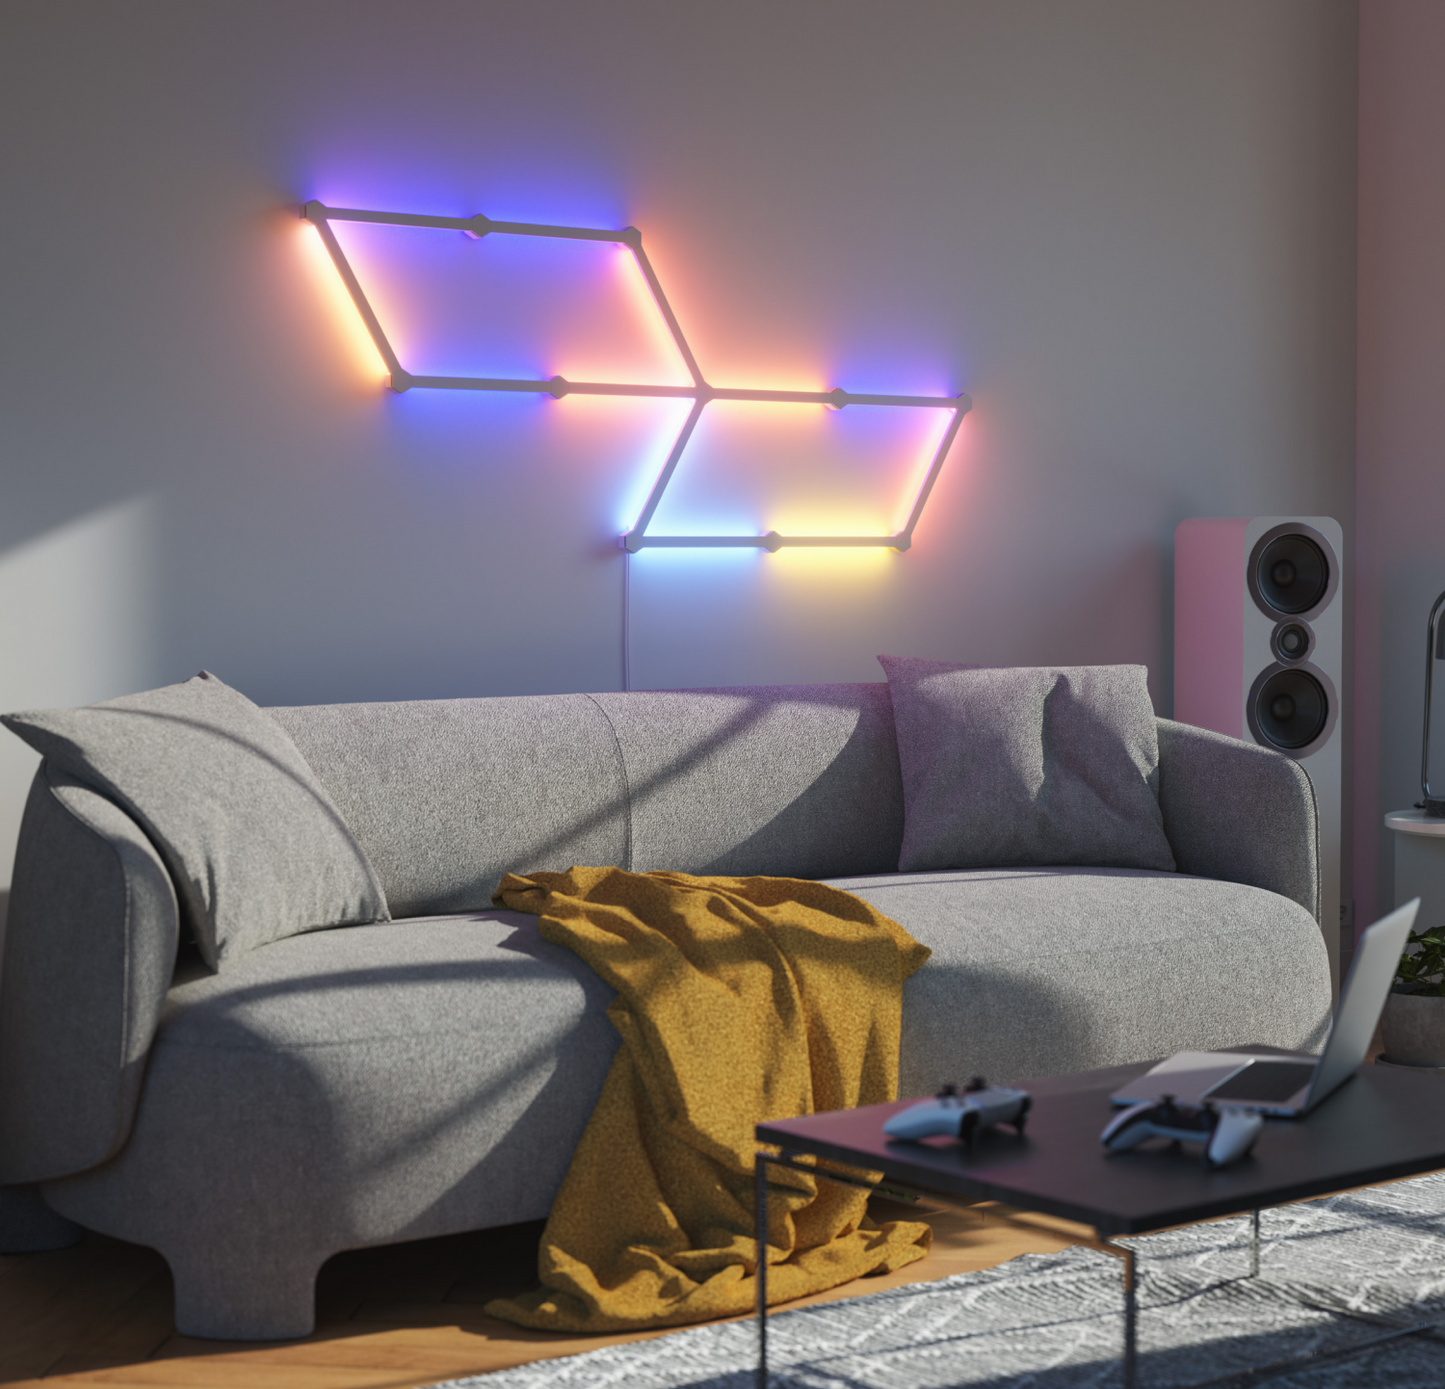
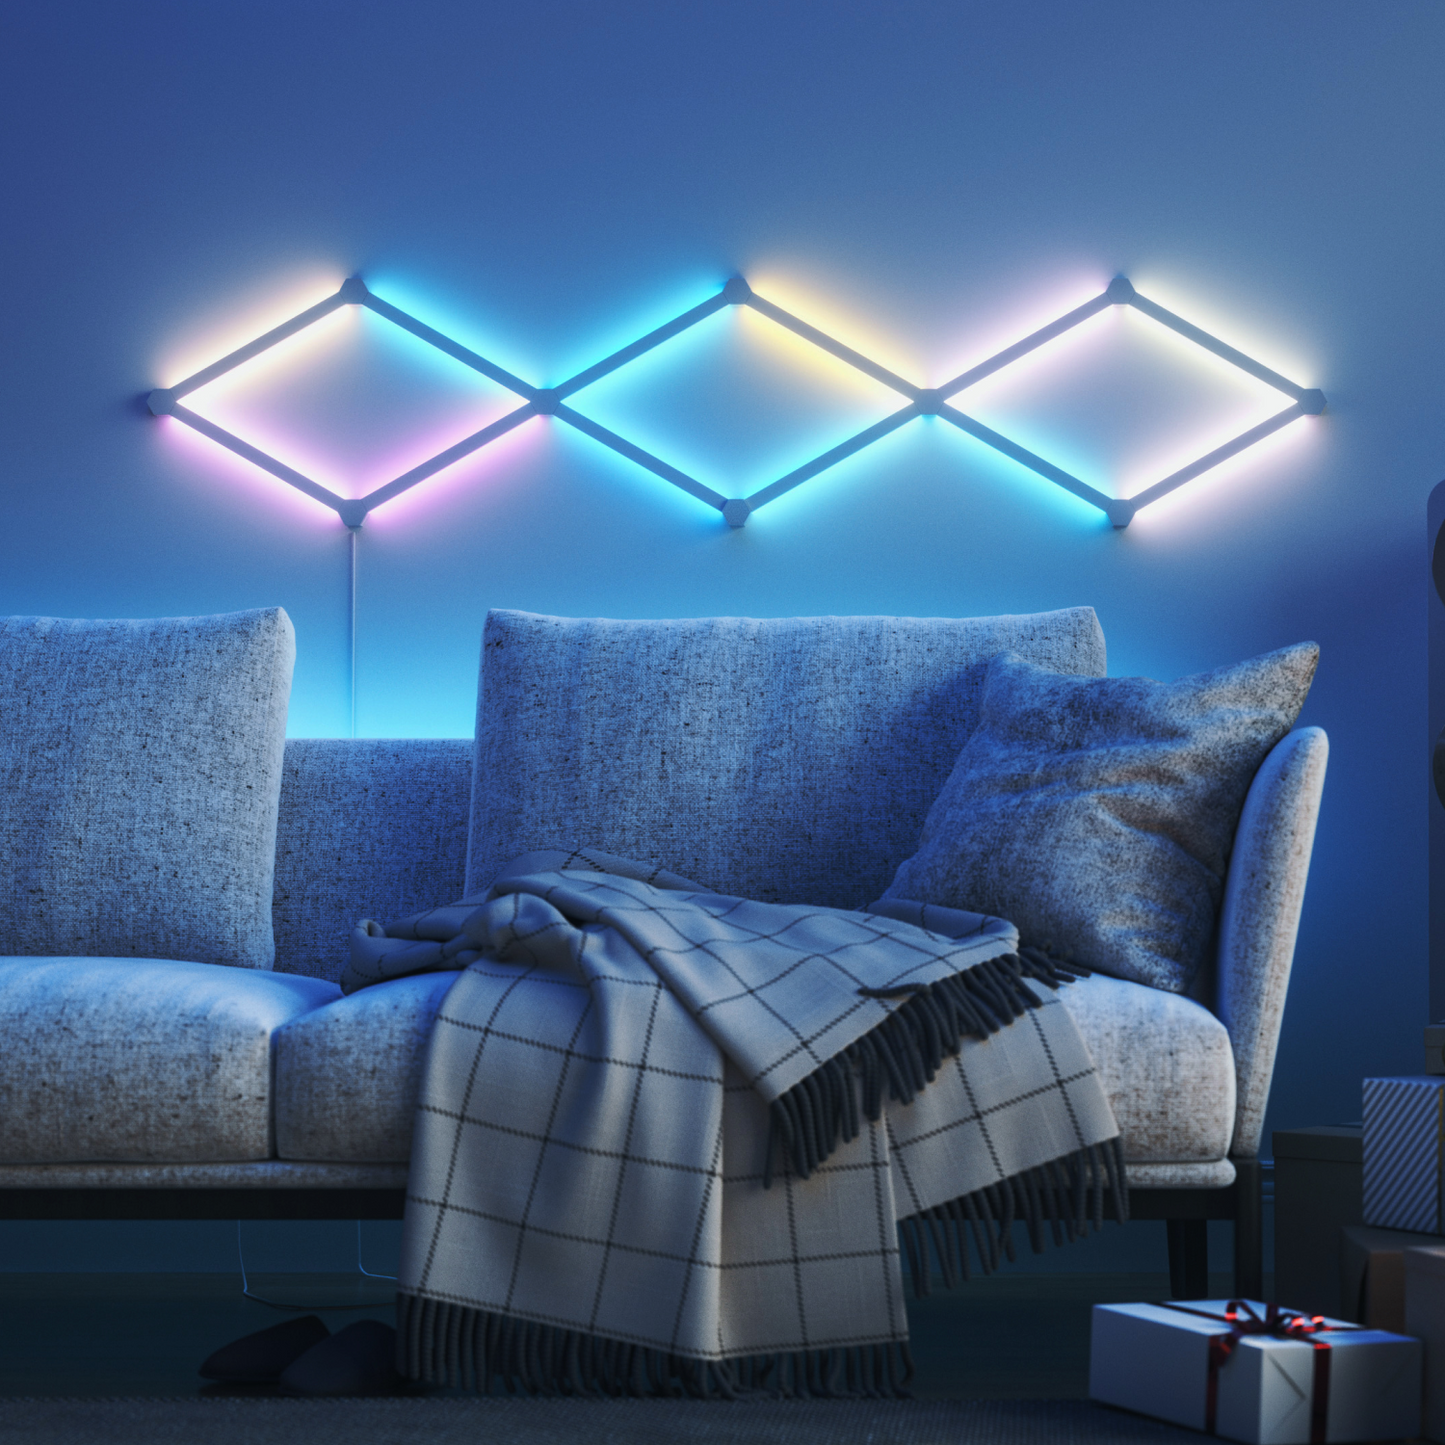
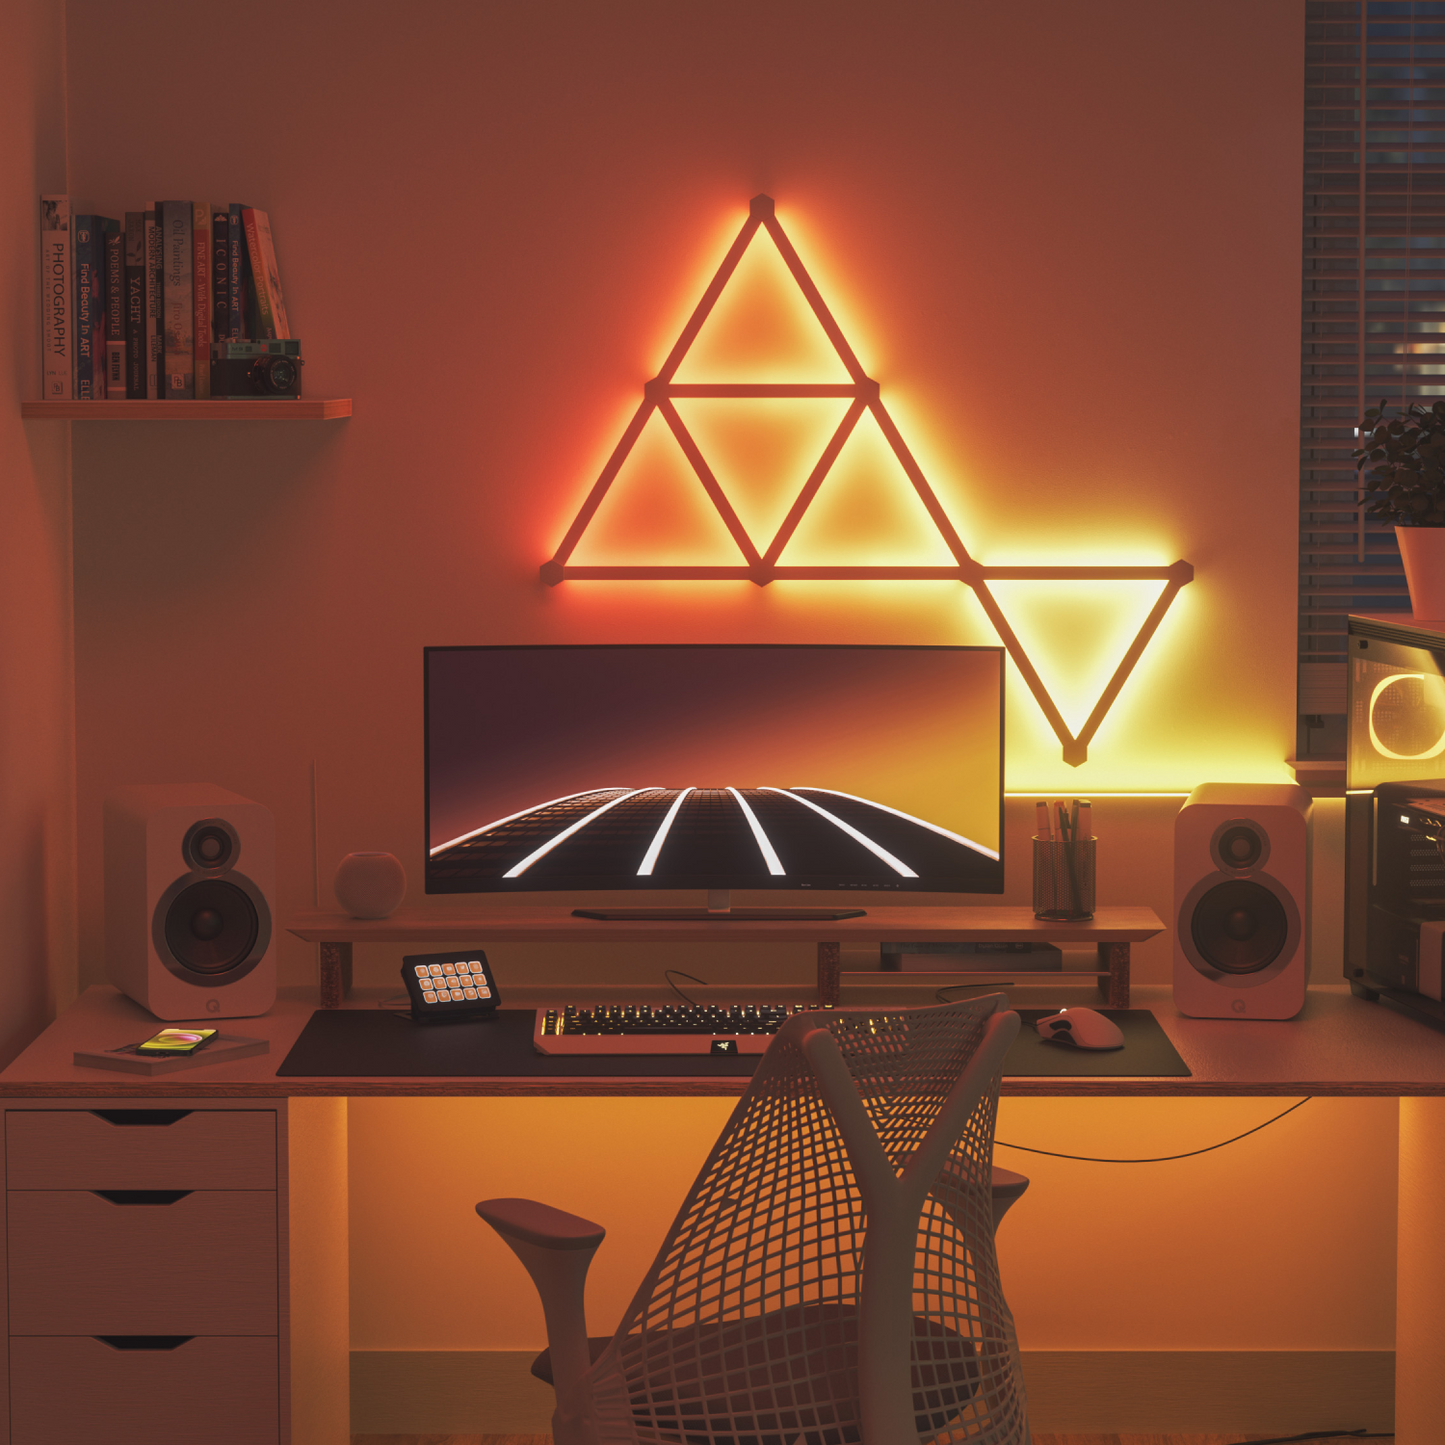
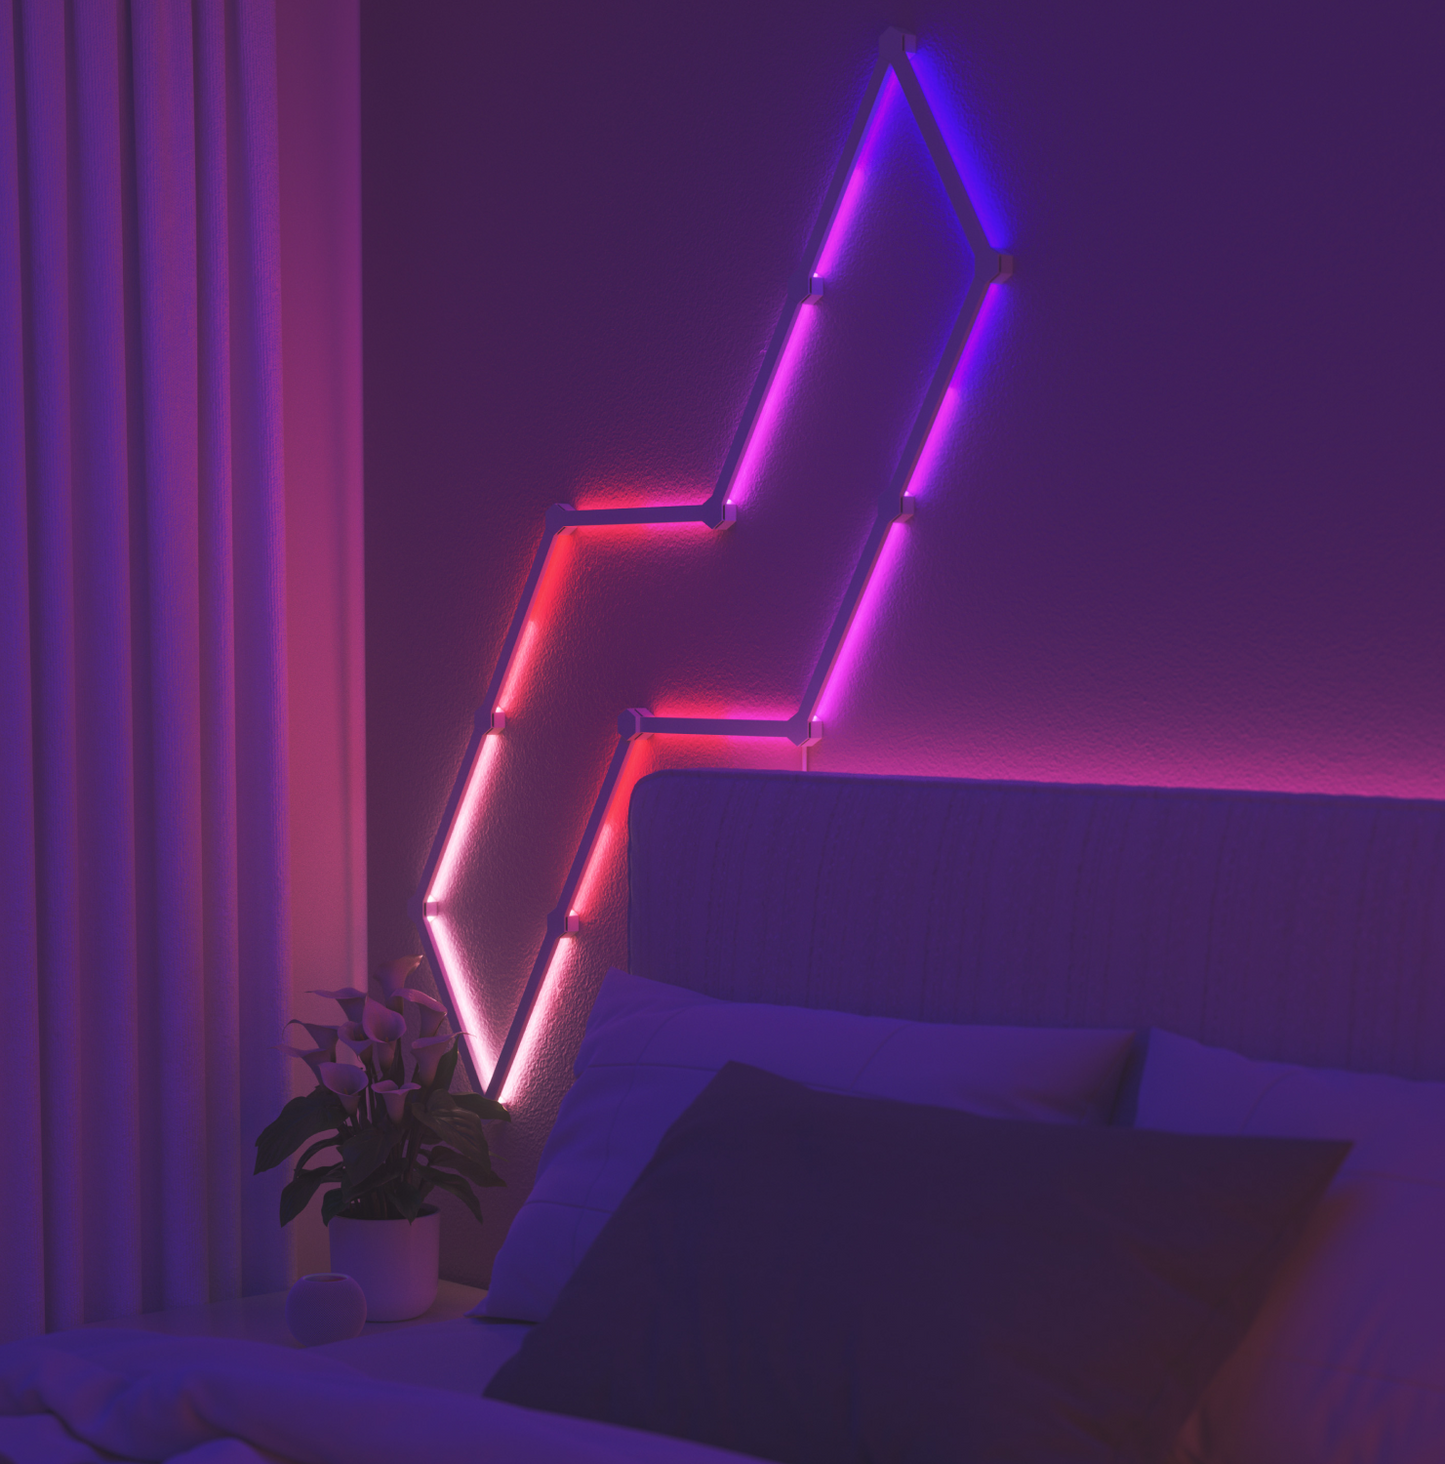
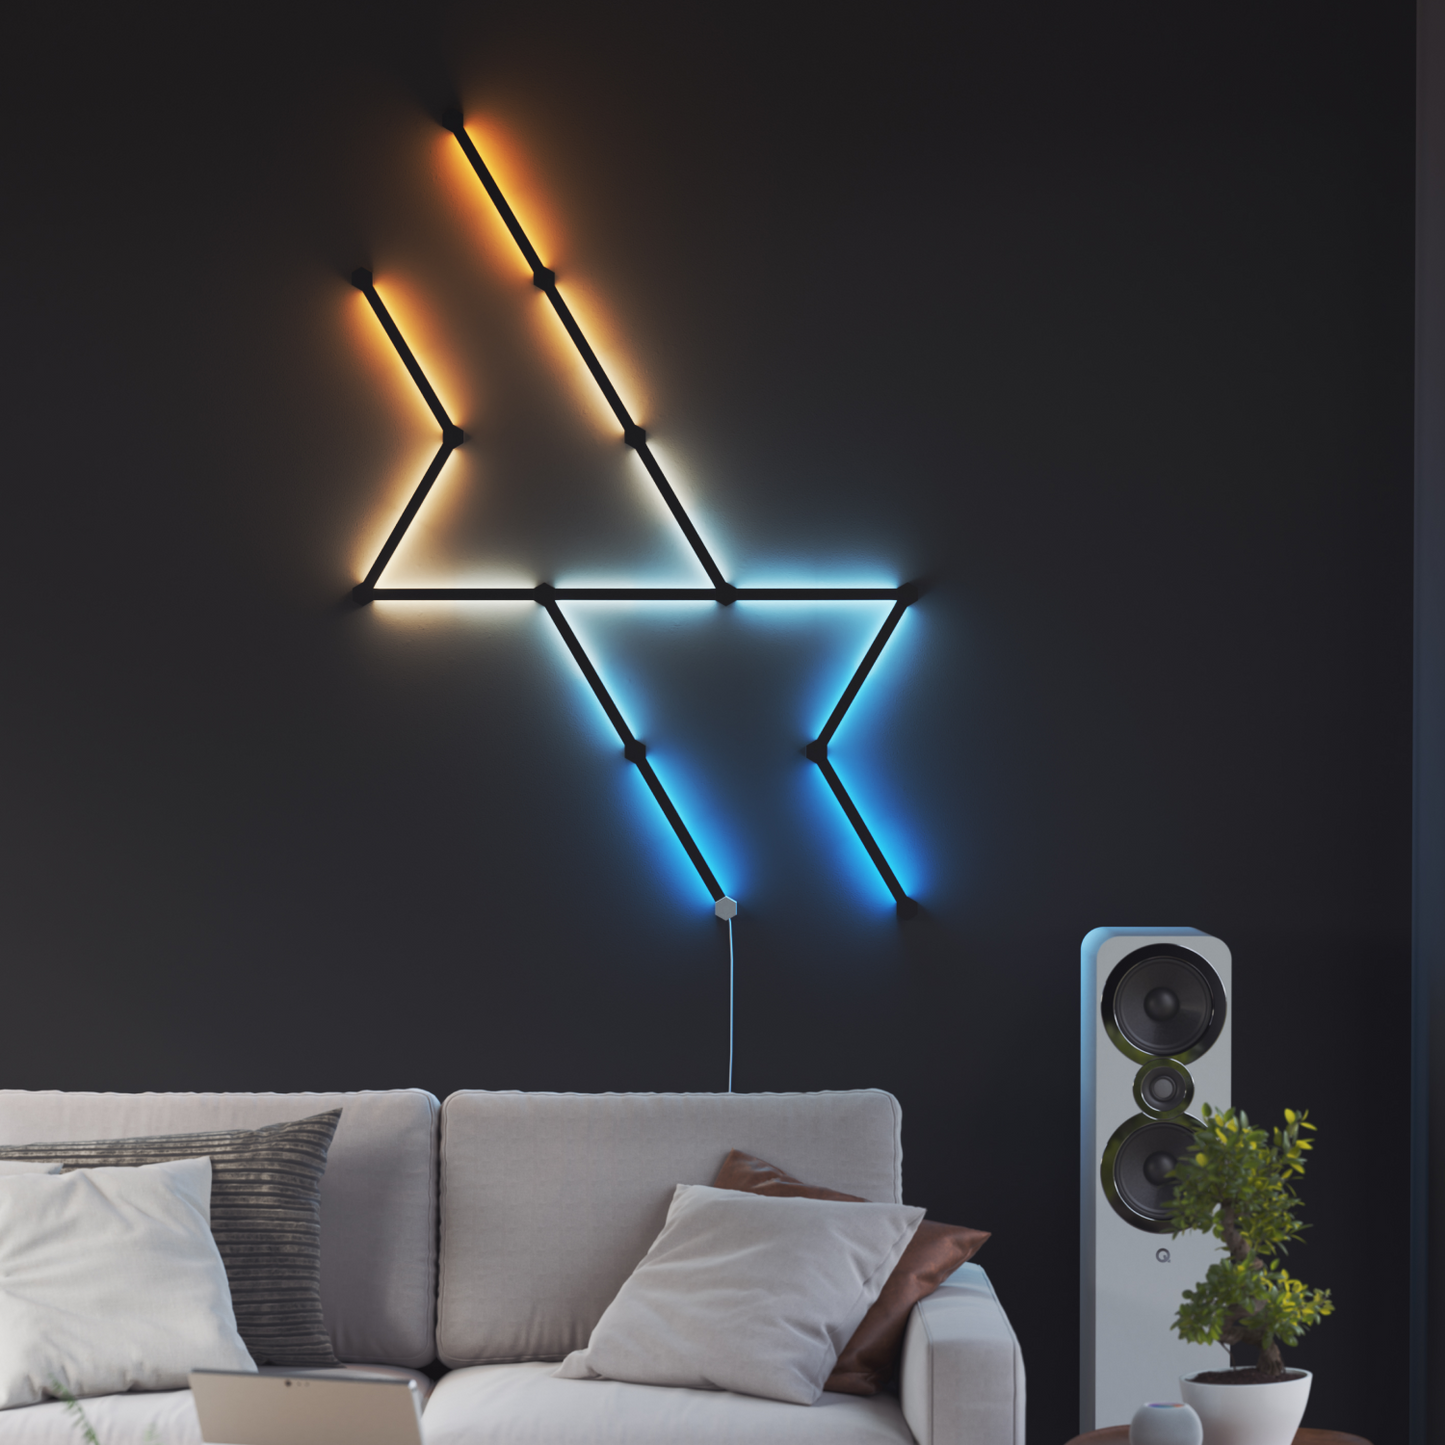
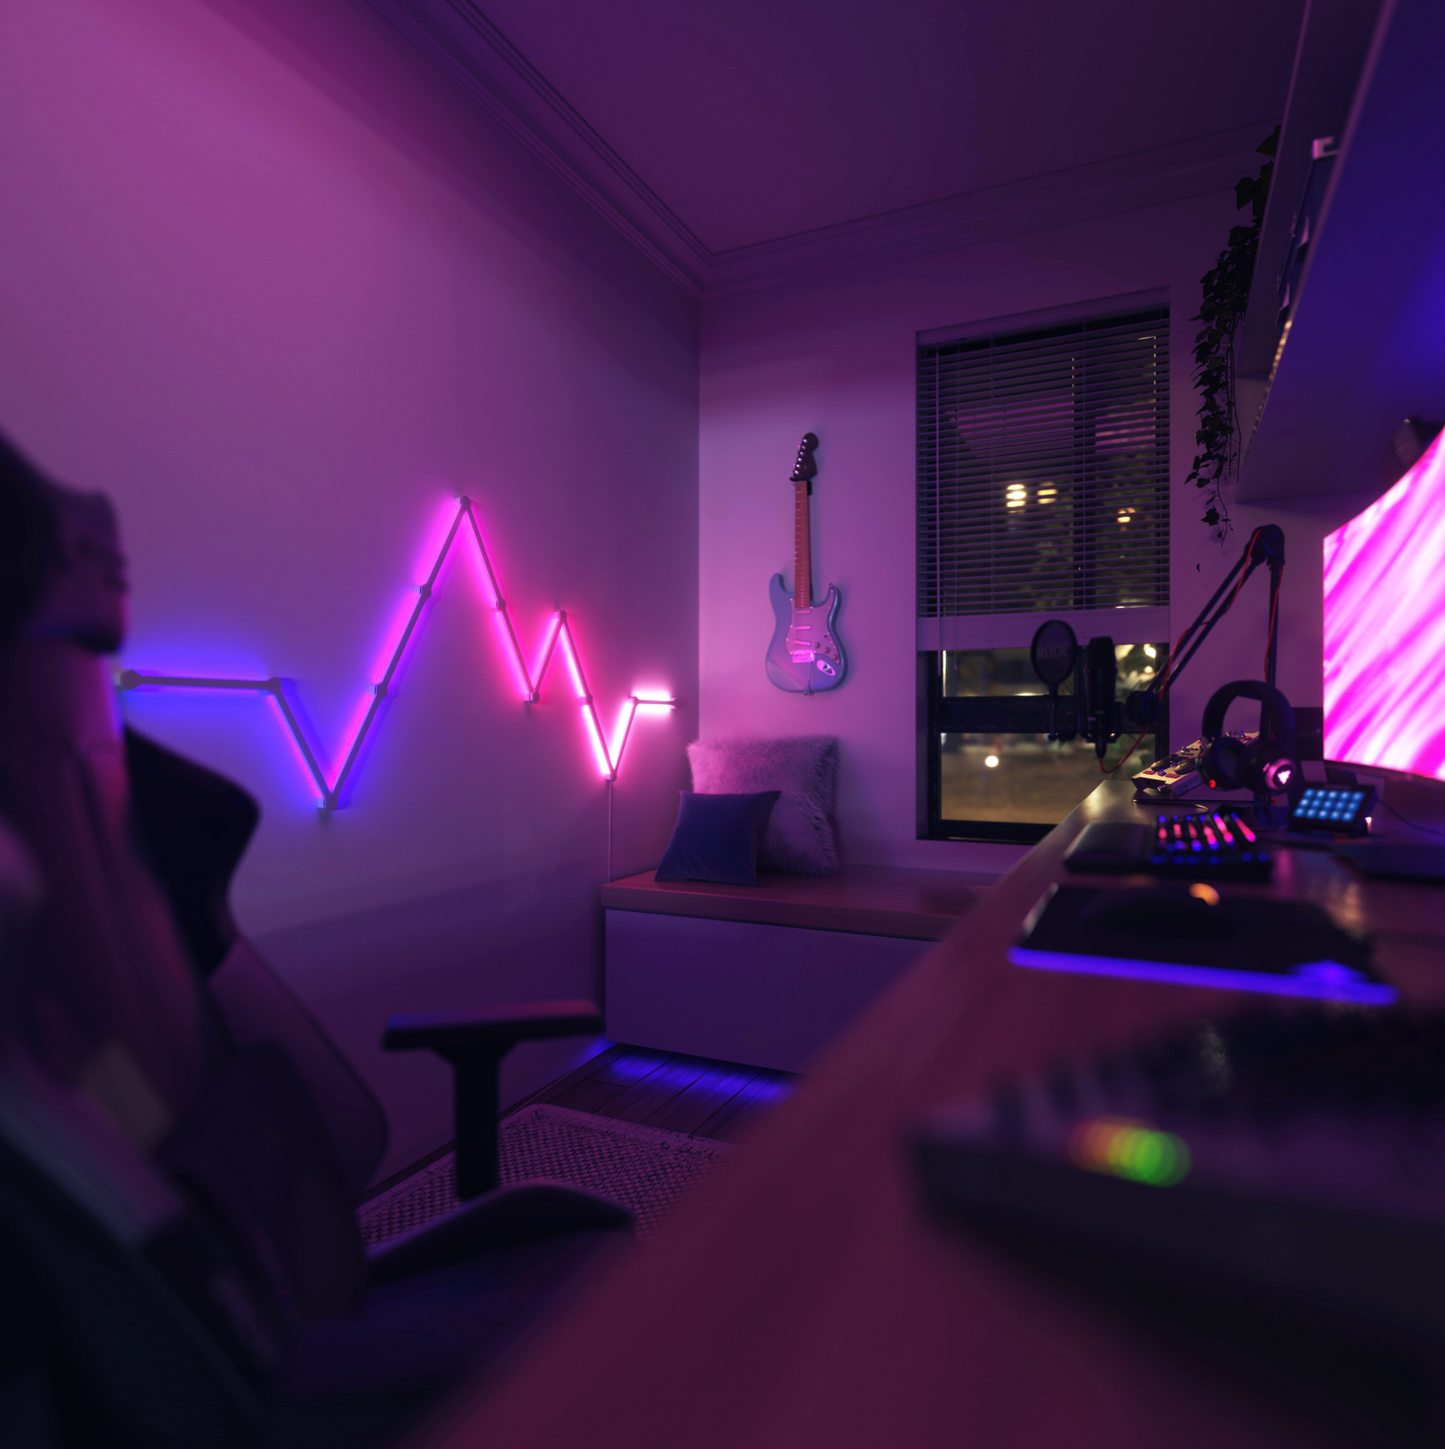
Experience stunning RGB illumination in a never-before-seen modular form factor. Smart backlit LED light bars come with everything you need to create intricate geometric designs on your wall. Choose from 16M+ colours and dynamic lighting animations that flow across your entire layout. Install by your desk setup, living room, bedroom, or any space where you want to achieve an ultramodern neon look. Packed with smart features like Rhythm Music Visualiser, Screen Mirror, and more. Instal with included adhesive Mounting Tape; no additional tools required. Use alone or combine with Lines 90 Degrees for even more design possibilities!
*Note: It must be used with Nanoleaf Lines Starter Kit
What’s in the box
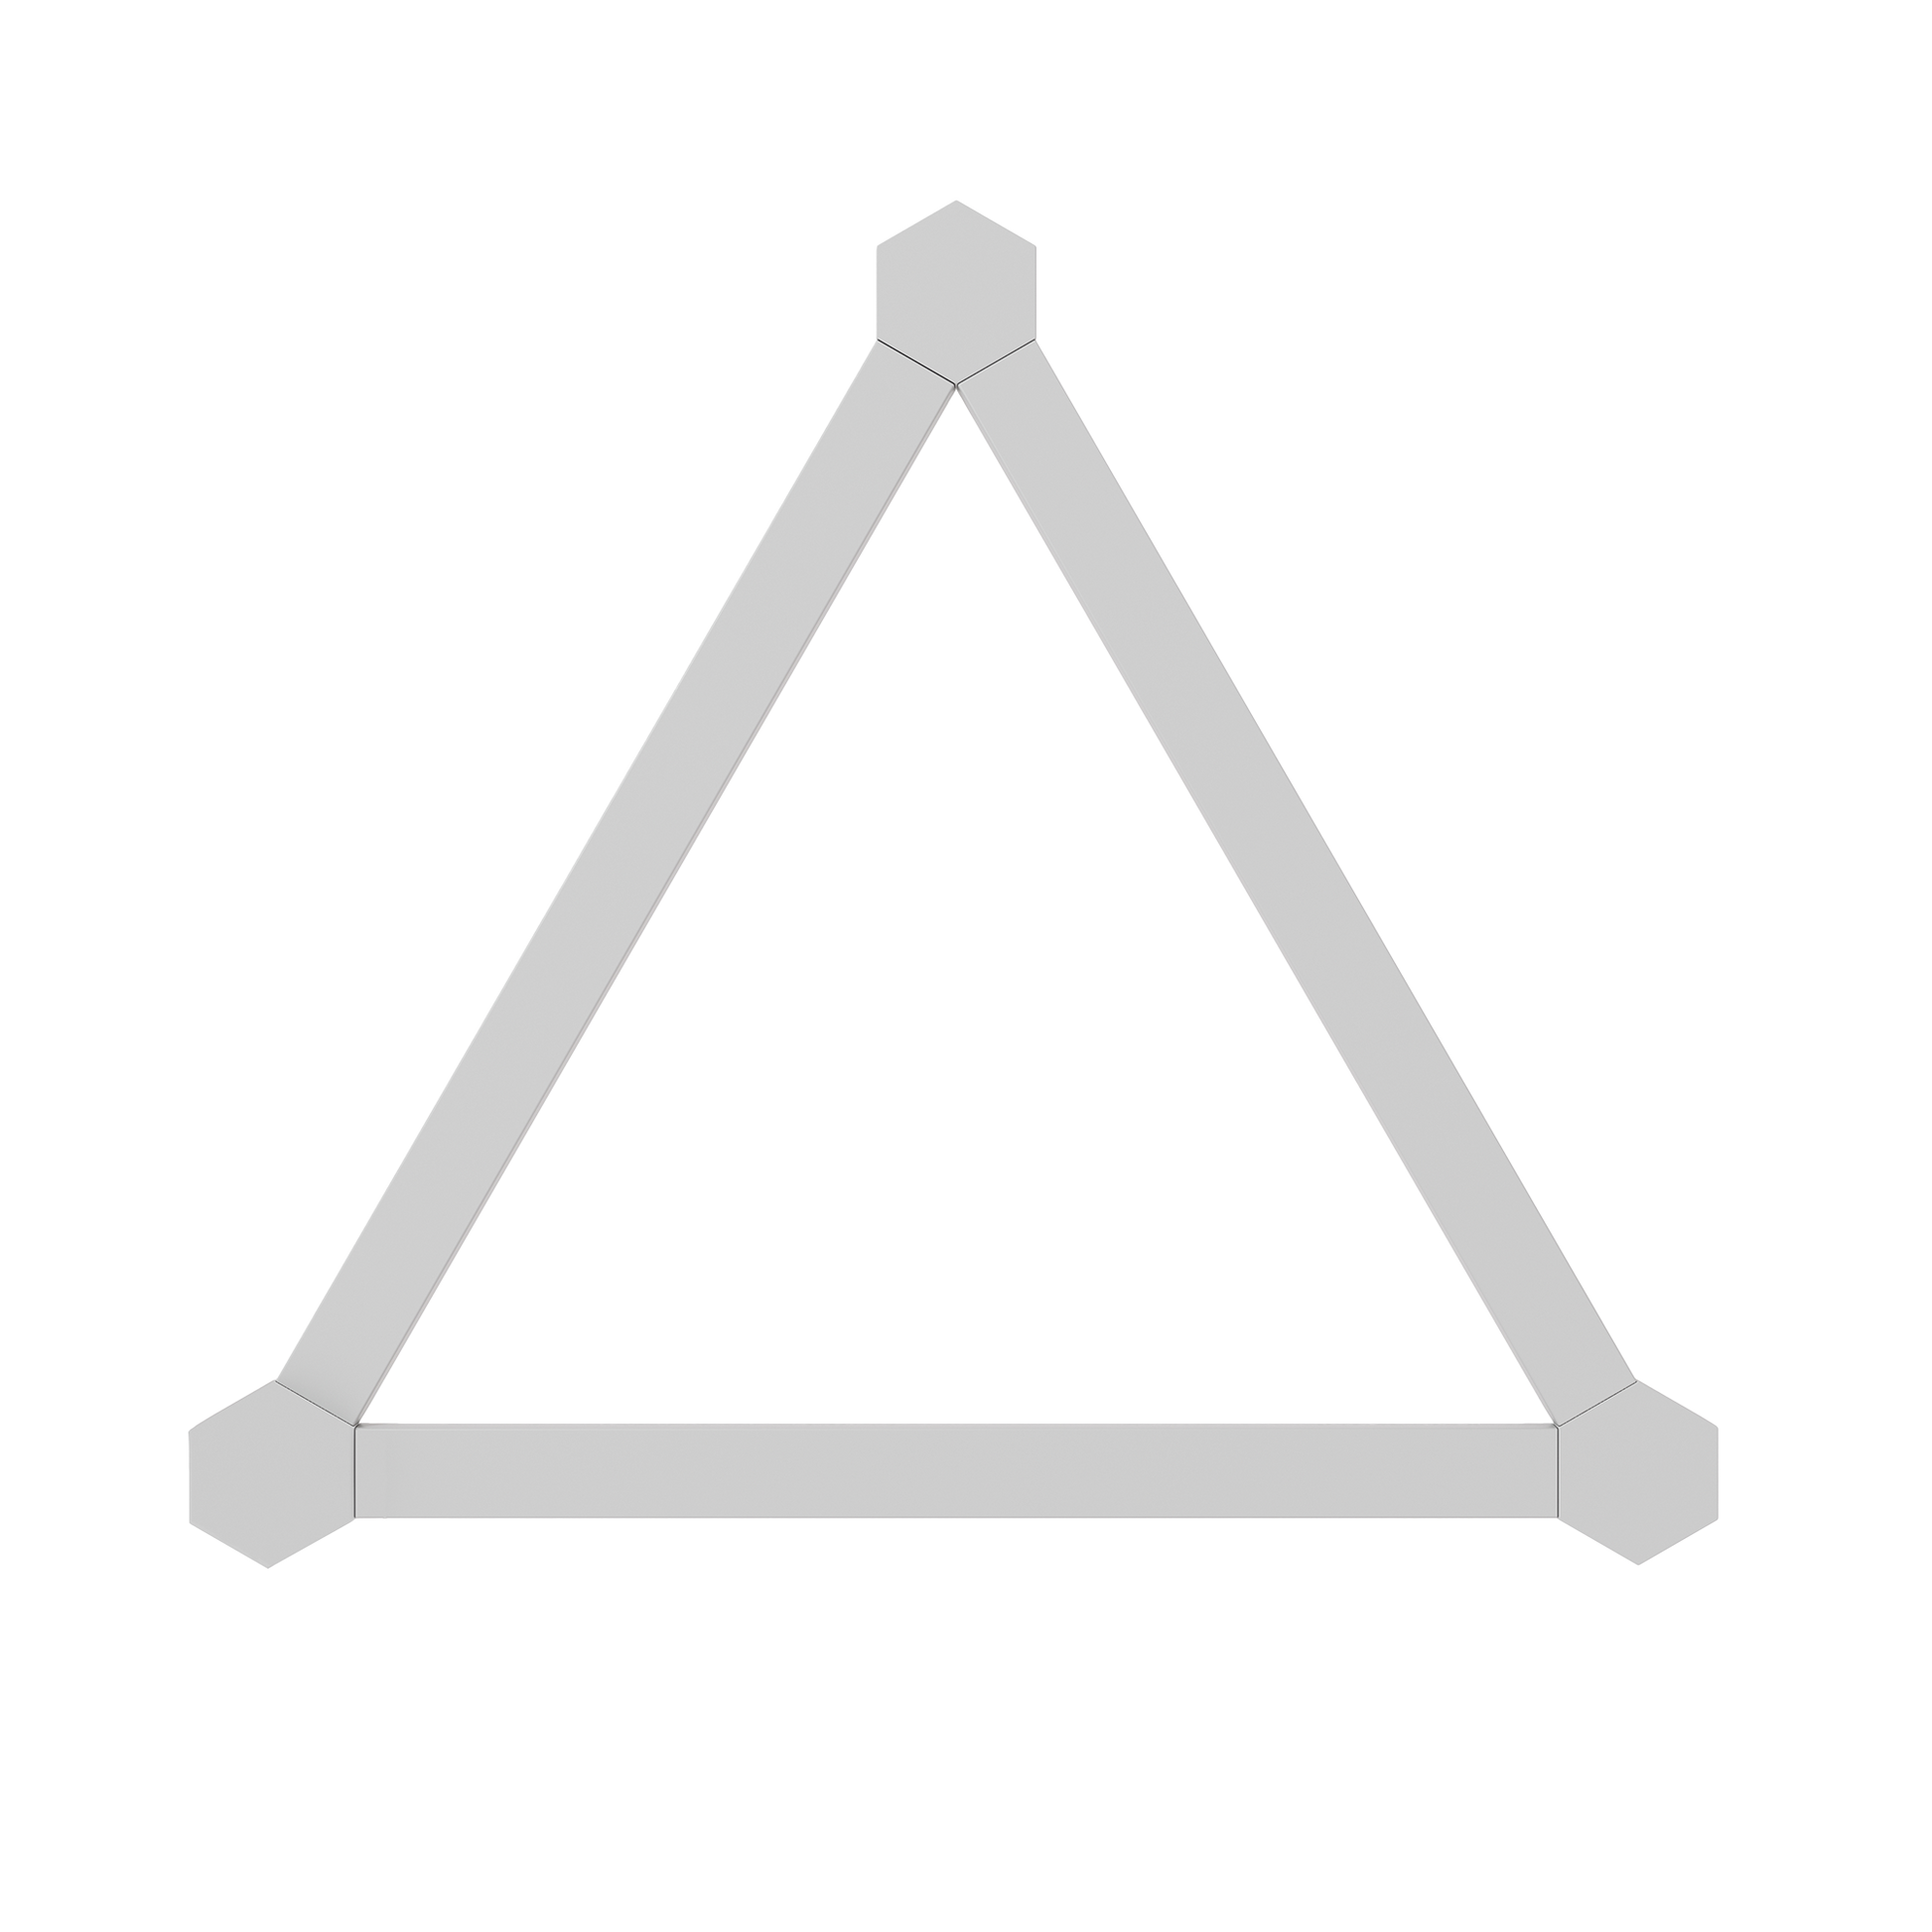
- 3 x Light Lines
- 3 x Mounting Connectors & Caps
- 3 x Mounting Plates
- 3 x Mounting Tapes

 100% Authentic
 2-Year Local Warranty
 Fast Shipping from Singapore


DIMENSIONS
DIMENSIONS
LINES
Height: 0.31"/ 0.80cm
Width: 11"/ 27.85cm
Depth: 0.78"/ 2cm
Weight: 39g
CONNECTOR
Height: 0.85"/ 2.16cm
Width: 1.18"/ 3cm
Depth: 1.18"/ 3cm
Weight: 12g
FEATURES
FEATURES
Luminous Flux Per Line: 20 lumens
Lifetime: 25,000 hours
Communication Protocol: WiFi (2.4 GHz b/g/n) NOTE: 5 GHz networks are not compatible with Nanoleaf products.
Dimmability: Yes (via App, Voice Control, Touch)
Mounting Type: Via included double-sided tape or screw mounts (screws and anchors not included)
Control: Via Nanoleaf App (Android & iOS) for mobile/tablet or The Nanoleaf Desktop App (Windows & Mac)
Compatibility: Apple Home, Amazon Alexa, Google Home, IFTTT, SmartThings, Razer Chroma, iCUE
COLOURS
COLOURS
Colour Temperature: 1200K – 6500K
Colour Channel Configuration: RGBW
Max Colours: More than 16 million
Colour Zones: 2 colour zones per line
Colour Rendering Index (CRI): >80
POWER
POWER
Voltage: 110VAC – 240VAC
Max Power Supply Power: 42W
Max Energy Consumption Per Line: 2W
Max Panels Per Included 42W PSU: 18 Lines


Key Features
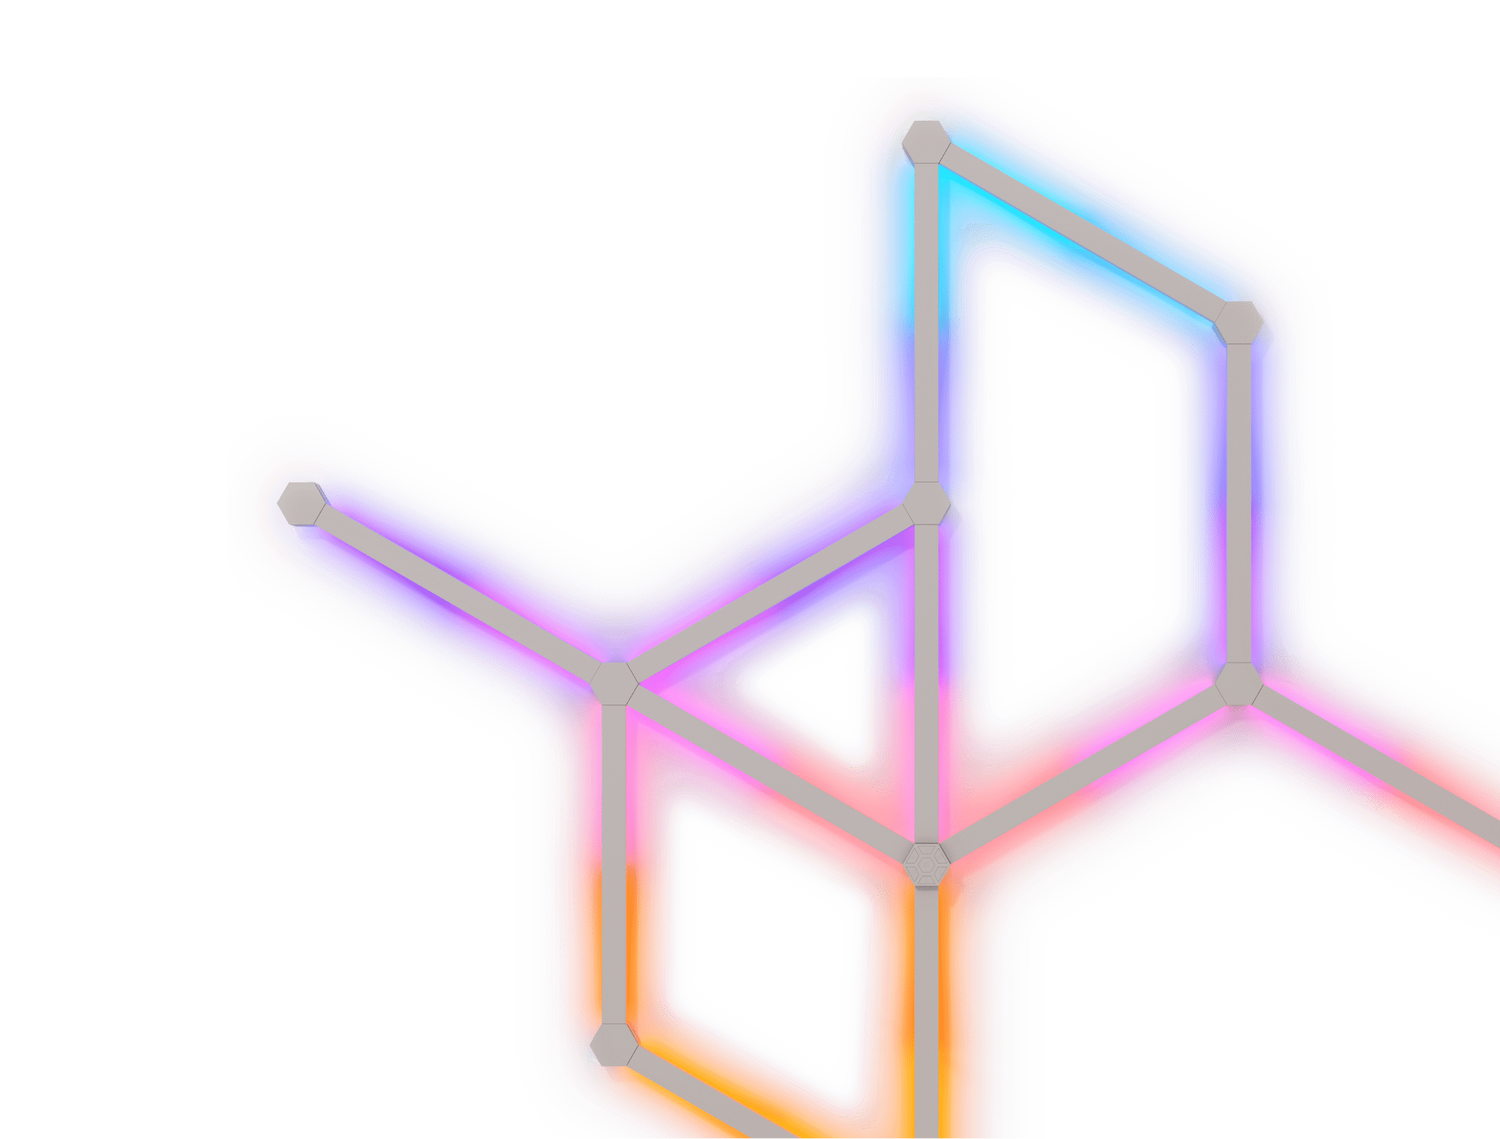
Modular Backlit Illumination
Design your own unique layouts, then sit back and enjoy the stunning futuristic ambient glow.
Music Visualiser
Turn your favourite songs into a show of colour and light with the built-in Rhythm Music Visualiser.
Screen Mirroring
The colours from your screen are reflected on your lines for an immersive experience. Available through the Nanoleaf Desktop App.
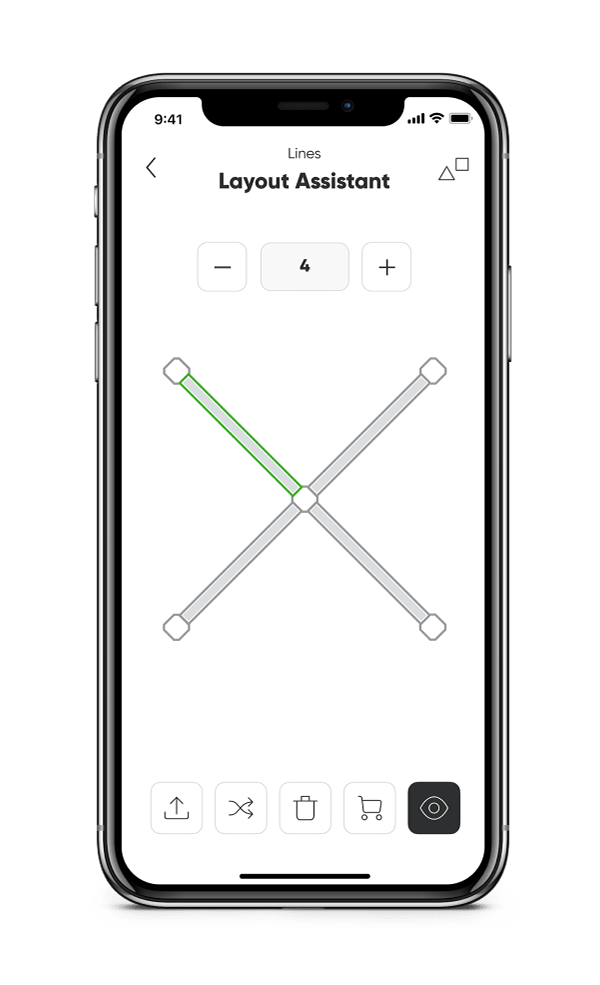
Layout Assistant
Explore different panel layouts with the Layout Assistant, and preview them in your room using the AR feature.
