


Step 1:
Download the Nanoleaf Smarter Series App. When opening the app for the first time you will be prompted to create an account. This is used to connect to applications like Amazon Alexa, Google Assistant and IFTTT, but is not a mandatory step for setup otherwise.
Step 2:
Plug your Nanoleaf Shapes into power, and wait for the boot-up cycle to finish.
You'll know it's finished once your Shapes begin cycling through colors, and the light on the Controller is on and steady.Please note that the light on the Controller will begin to flash after 15 min after which you would need to perform another soft reset.
Step 3:
Press "Start Pairing" in the app (NOTE: if this option does not appear automatically you can find it by going to the "...More" tab in the bottom right corner, tapping "My Devices", and then the "+" in the upper right corner). The "Add Accessory" window will appear to scan the HomeKit Setup Code (QR code). This code can be found on the postcard that came with your Shapes, on the back of the Controller, or on the back of your Power Supply. You can also enter your code manually.
Alternatively, Nanoleaf Shapes can be paired through NFC pairing, by tapping your phone to the Controller.
Note: NFC will need to be activated on your mobile device in order to use this feature. Only certain phones support NFC pairing
Step 4:
The app will begin searching for your Shapes. When the pairing is complete the Shapes will flash green.
Step 5:
Name your Shapes, assign them to a specific room, or choose to include it in the list of Favorites in HomeKit.
Step 6:
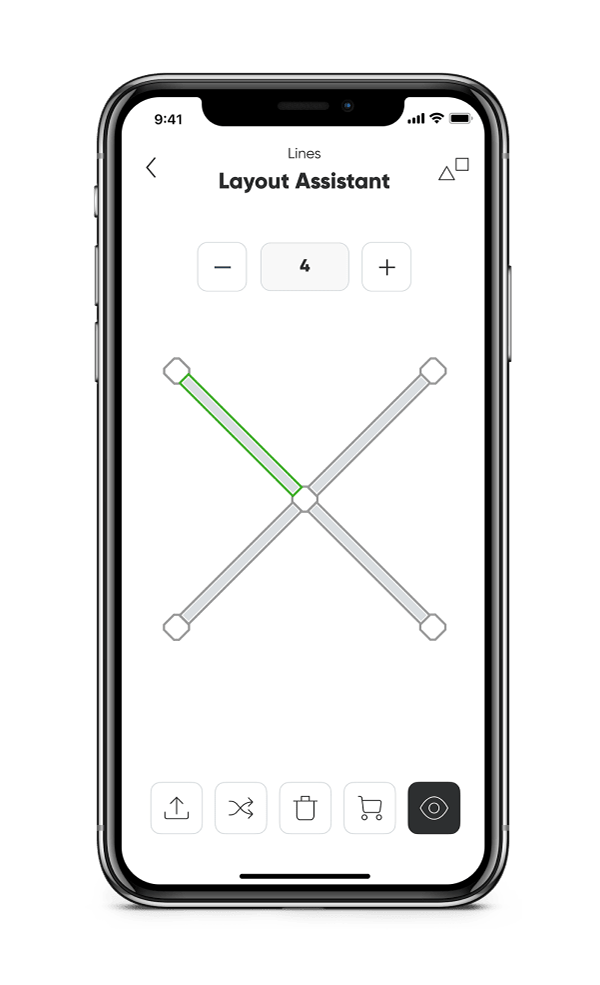
The Setup Orientation screen will appear in order to confirm the orientation of your Shapes with what is displayed on the screen. The LayoutDetect feature automatically detects how your Shapes are connected to one another, but you may need to rotate the layout on the screen. This ensures that the animations of your Scenes flow in the right directions!
Step 7:
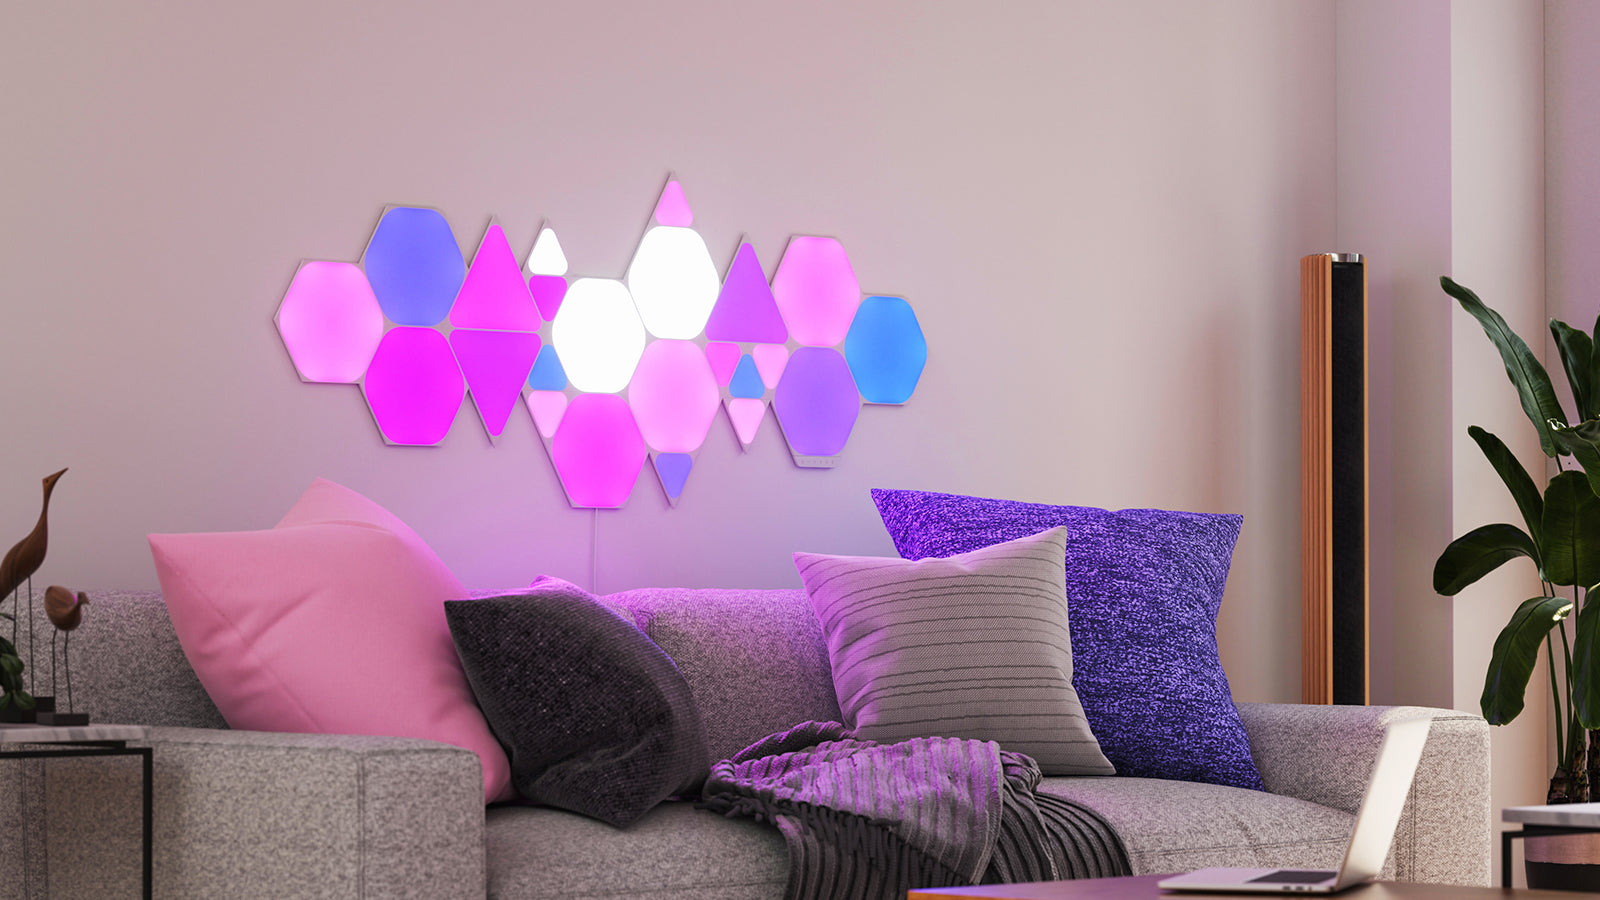
Enjoy your Shapes!