Skip to product information
1 of 7

Nanoleaf

Nanoleaf Elements Wood Look Starter Kit (7 Panels)

Nanoleaf Elements Wood Look Starter Kit (7 Panels)

Regular price $369.00 SGD
Regular price Sale price $369.00 SGD
Sale Sold out
Tax included.

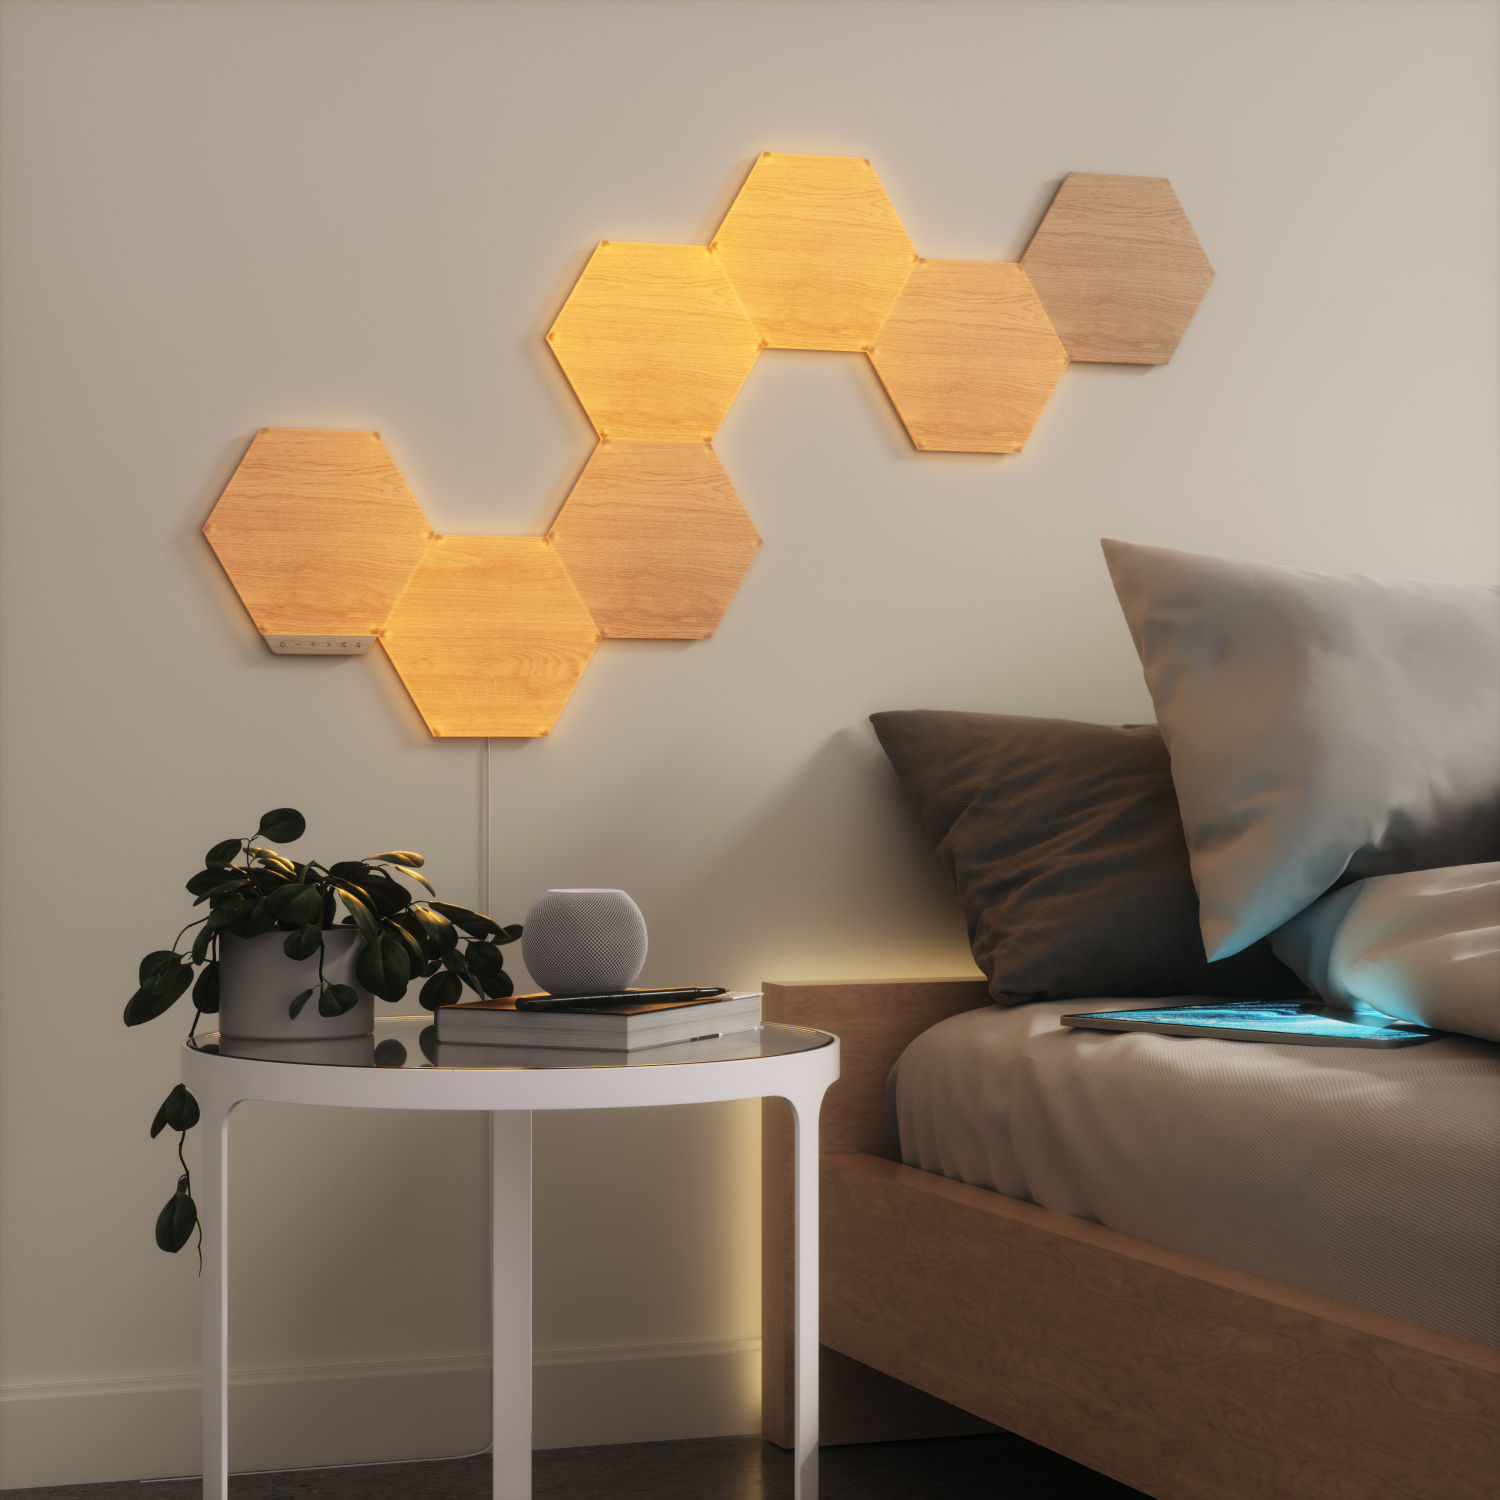
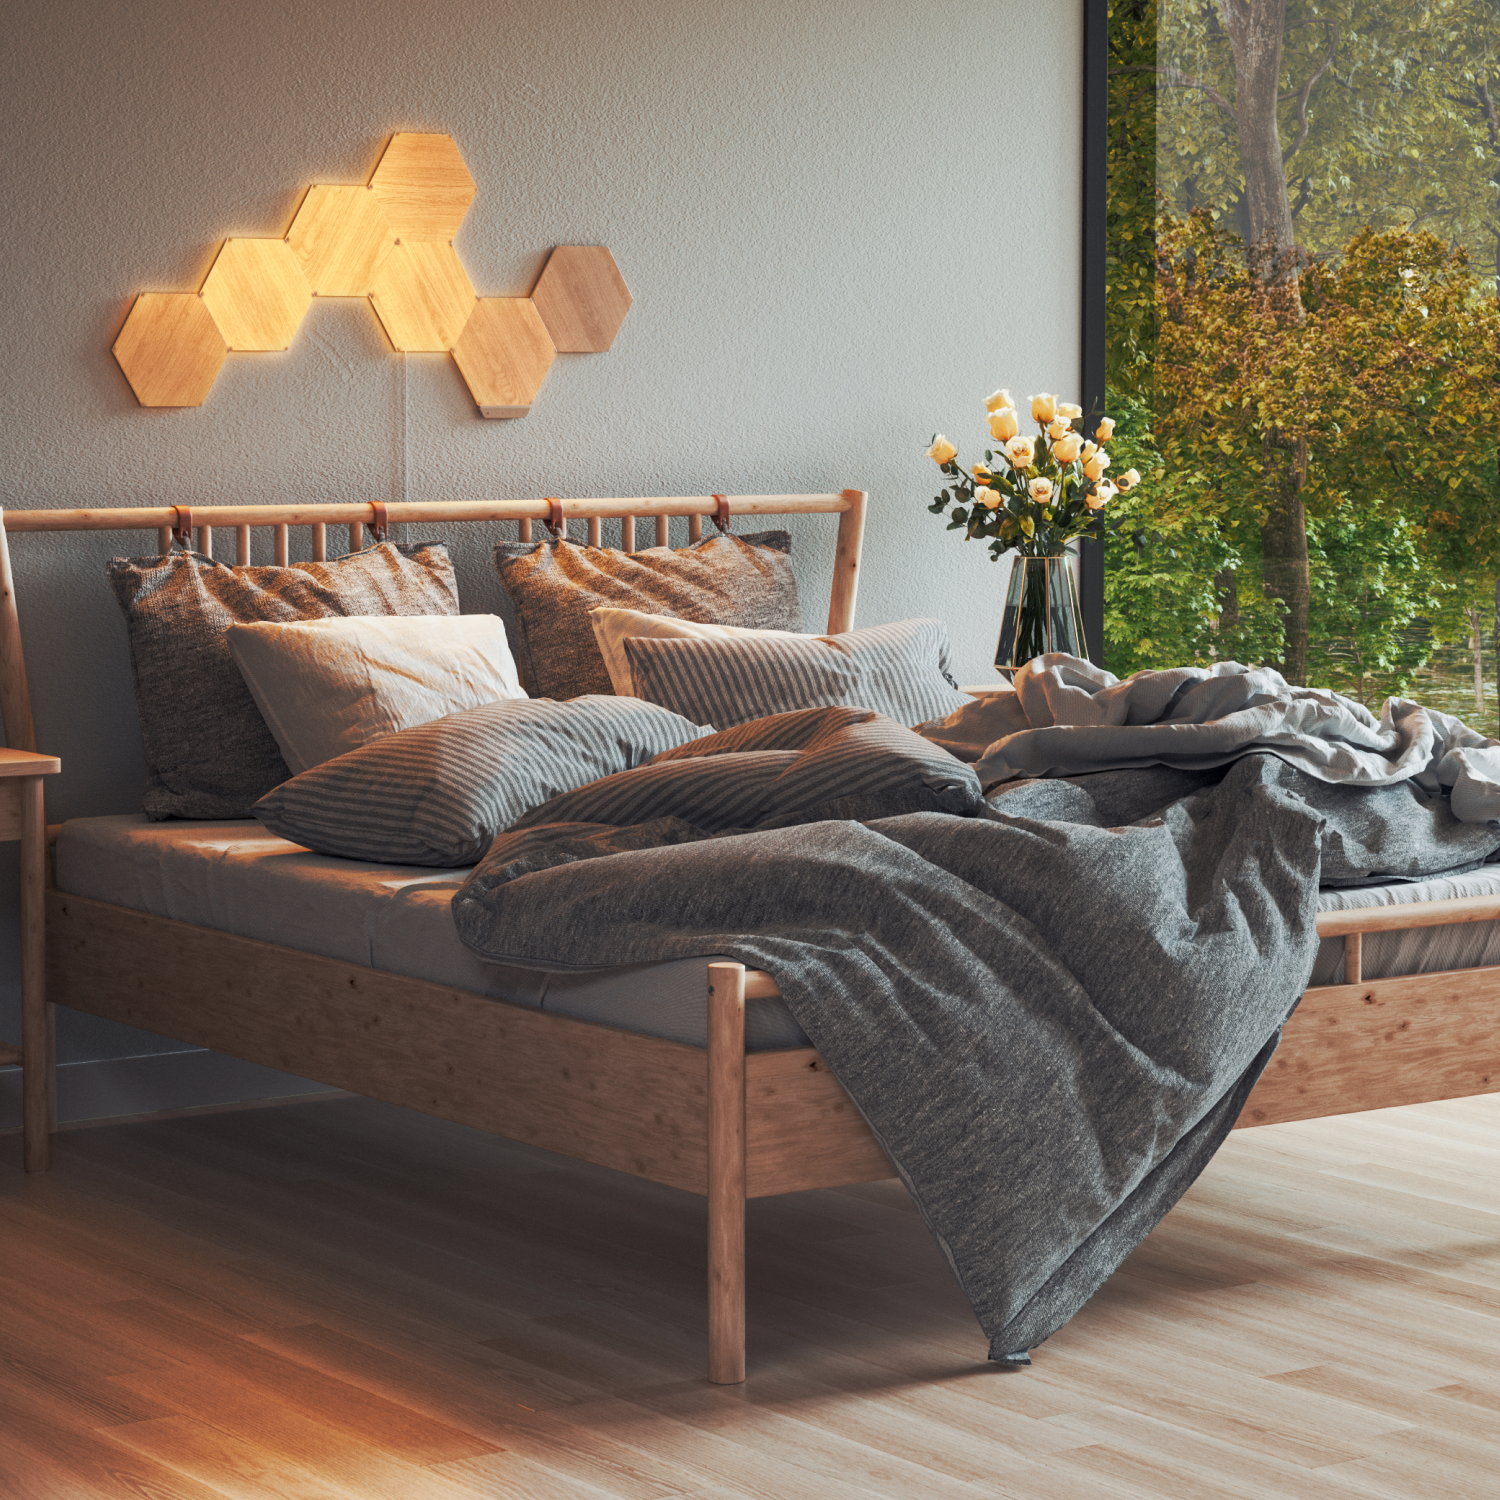
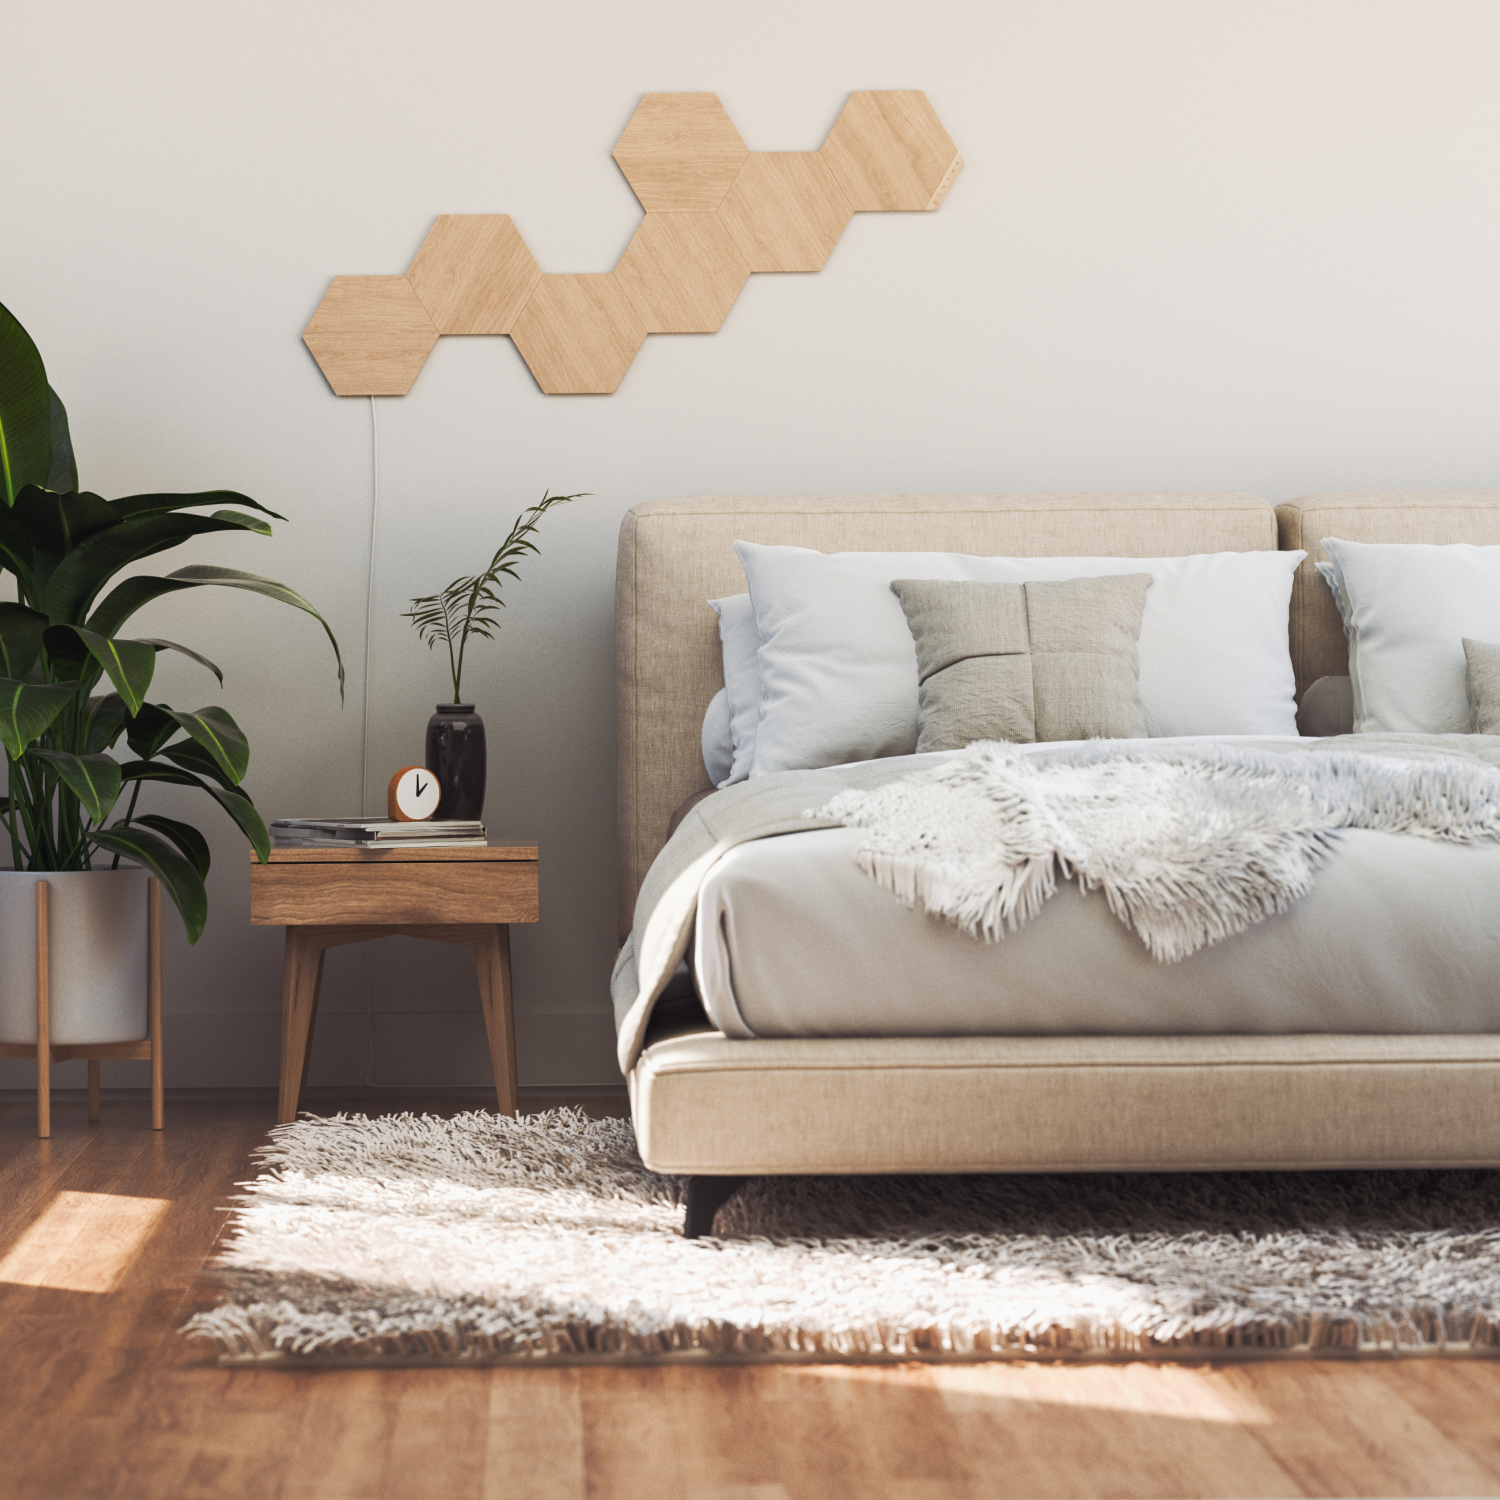
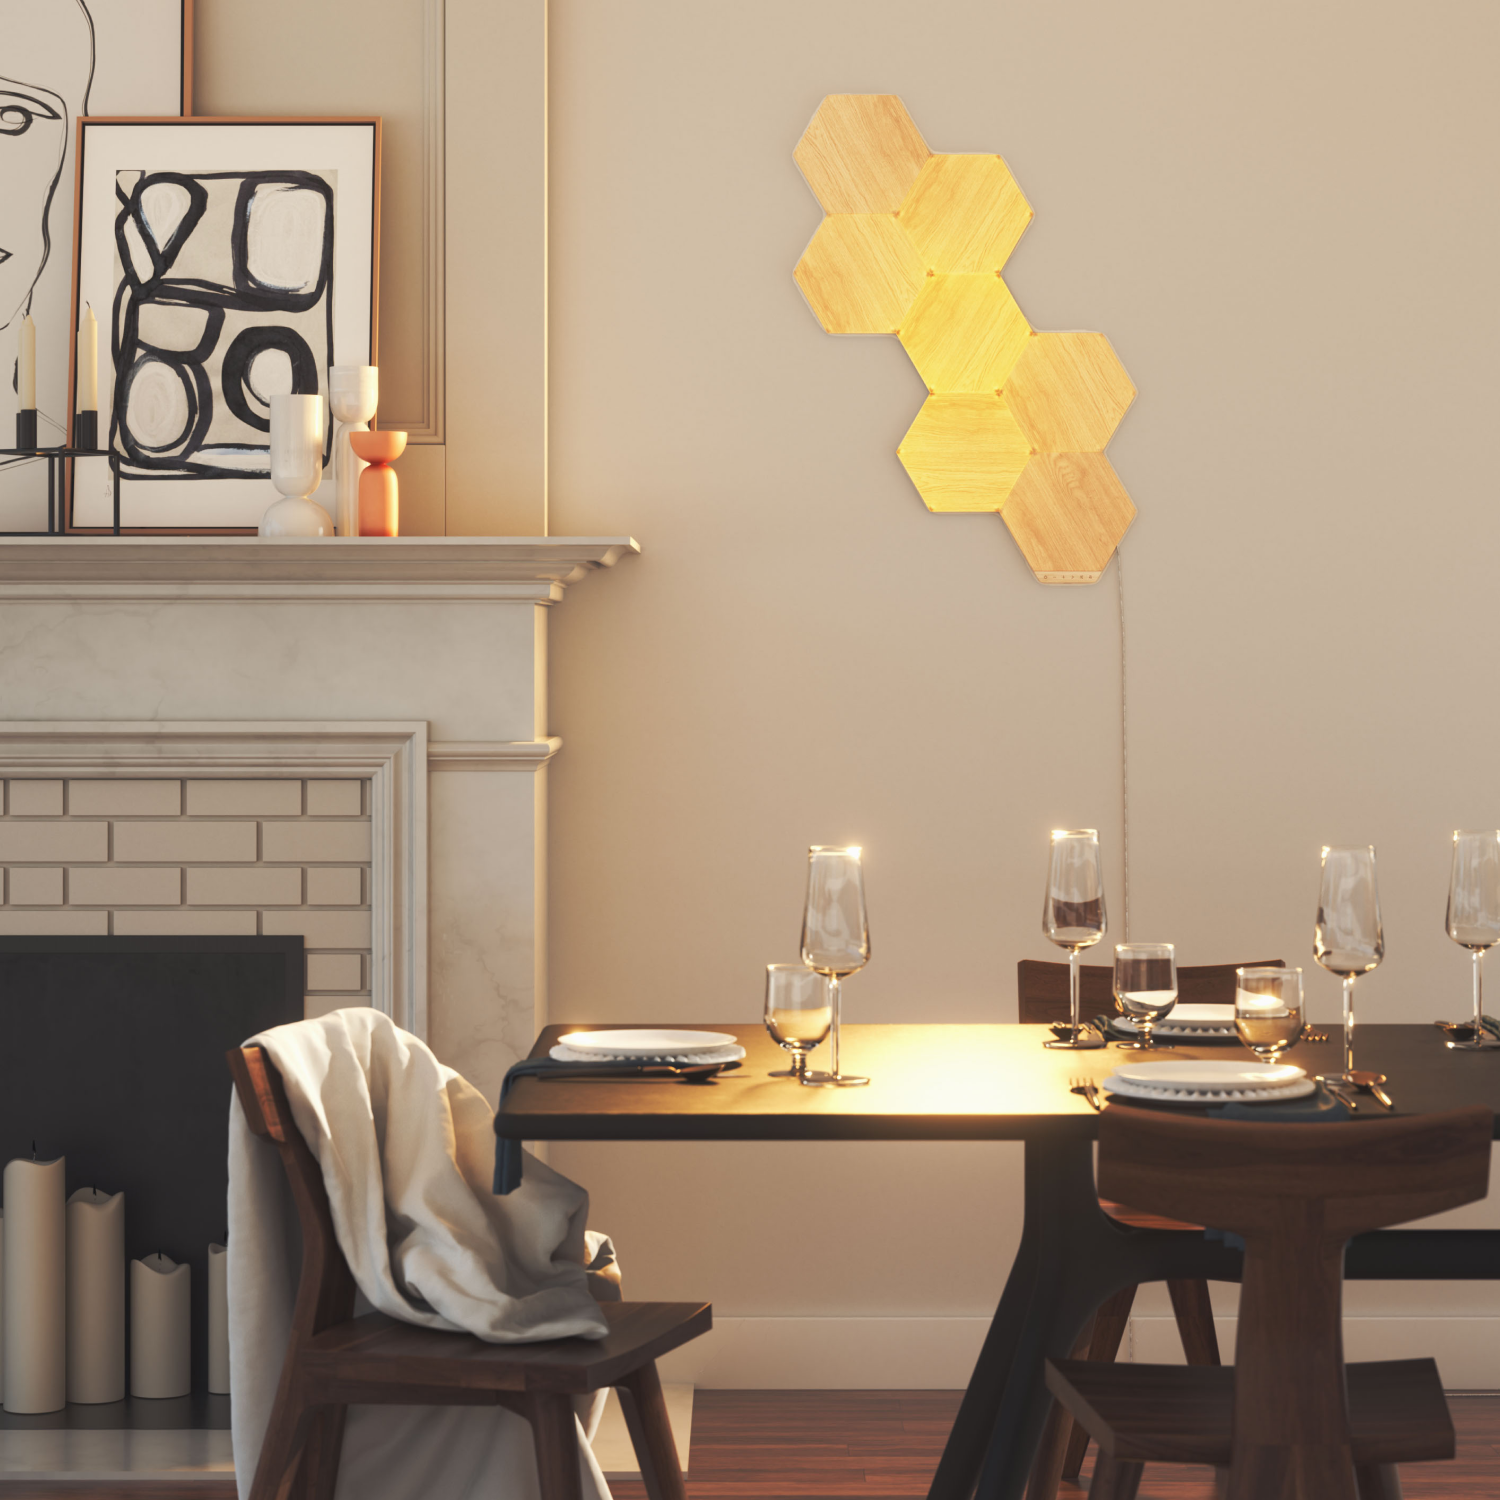
Introducing the Nanoleaf Elements, a light that infuses smart technology into the world of bespoke lighting and interior design. Highly customisable modular panels finished with a wood-grain veneer give a sophisticated yet organic feel to your living space. Made to look beautiful on or off, Nanoleaf Elements are a standalone piece of wall art and lighting fixture all in one. Create a geometric art installation with the panels off or light them up to see a softly glowing illumination that flows organically across your layout. Cool and warm lighting options create calming Scenes of slow-moving clouds or a warm glowing fireplace, and even bring tropical waterfalls into your home. Choose from a list of curated Scenes, or design your own breathtaking murals of light with our intuitive app.

Compliant to Singapore IMDA standards, with SAFETY mark certification.

What's in the box

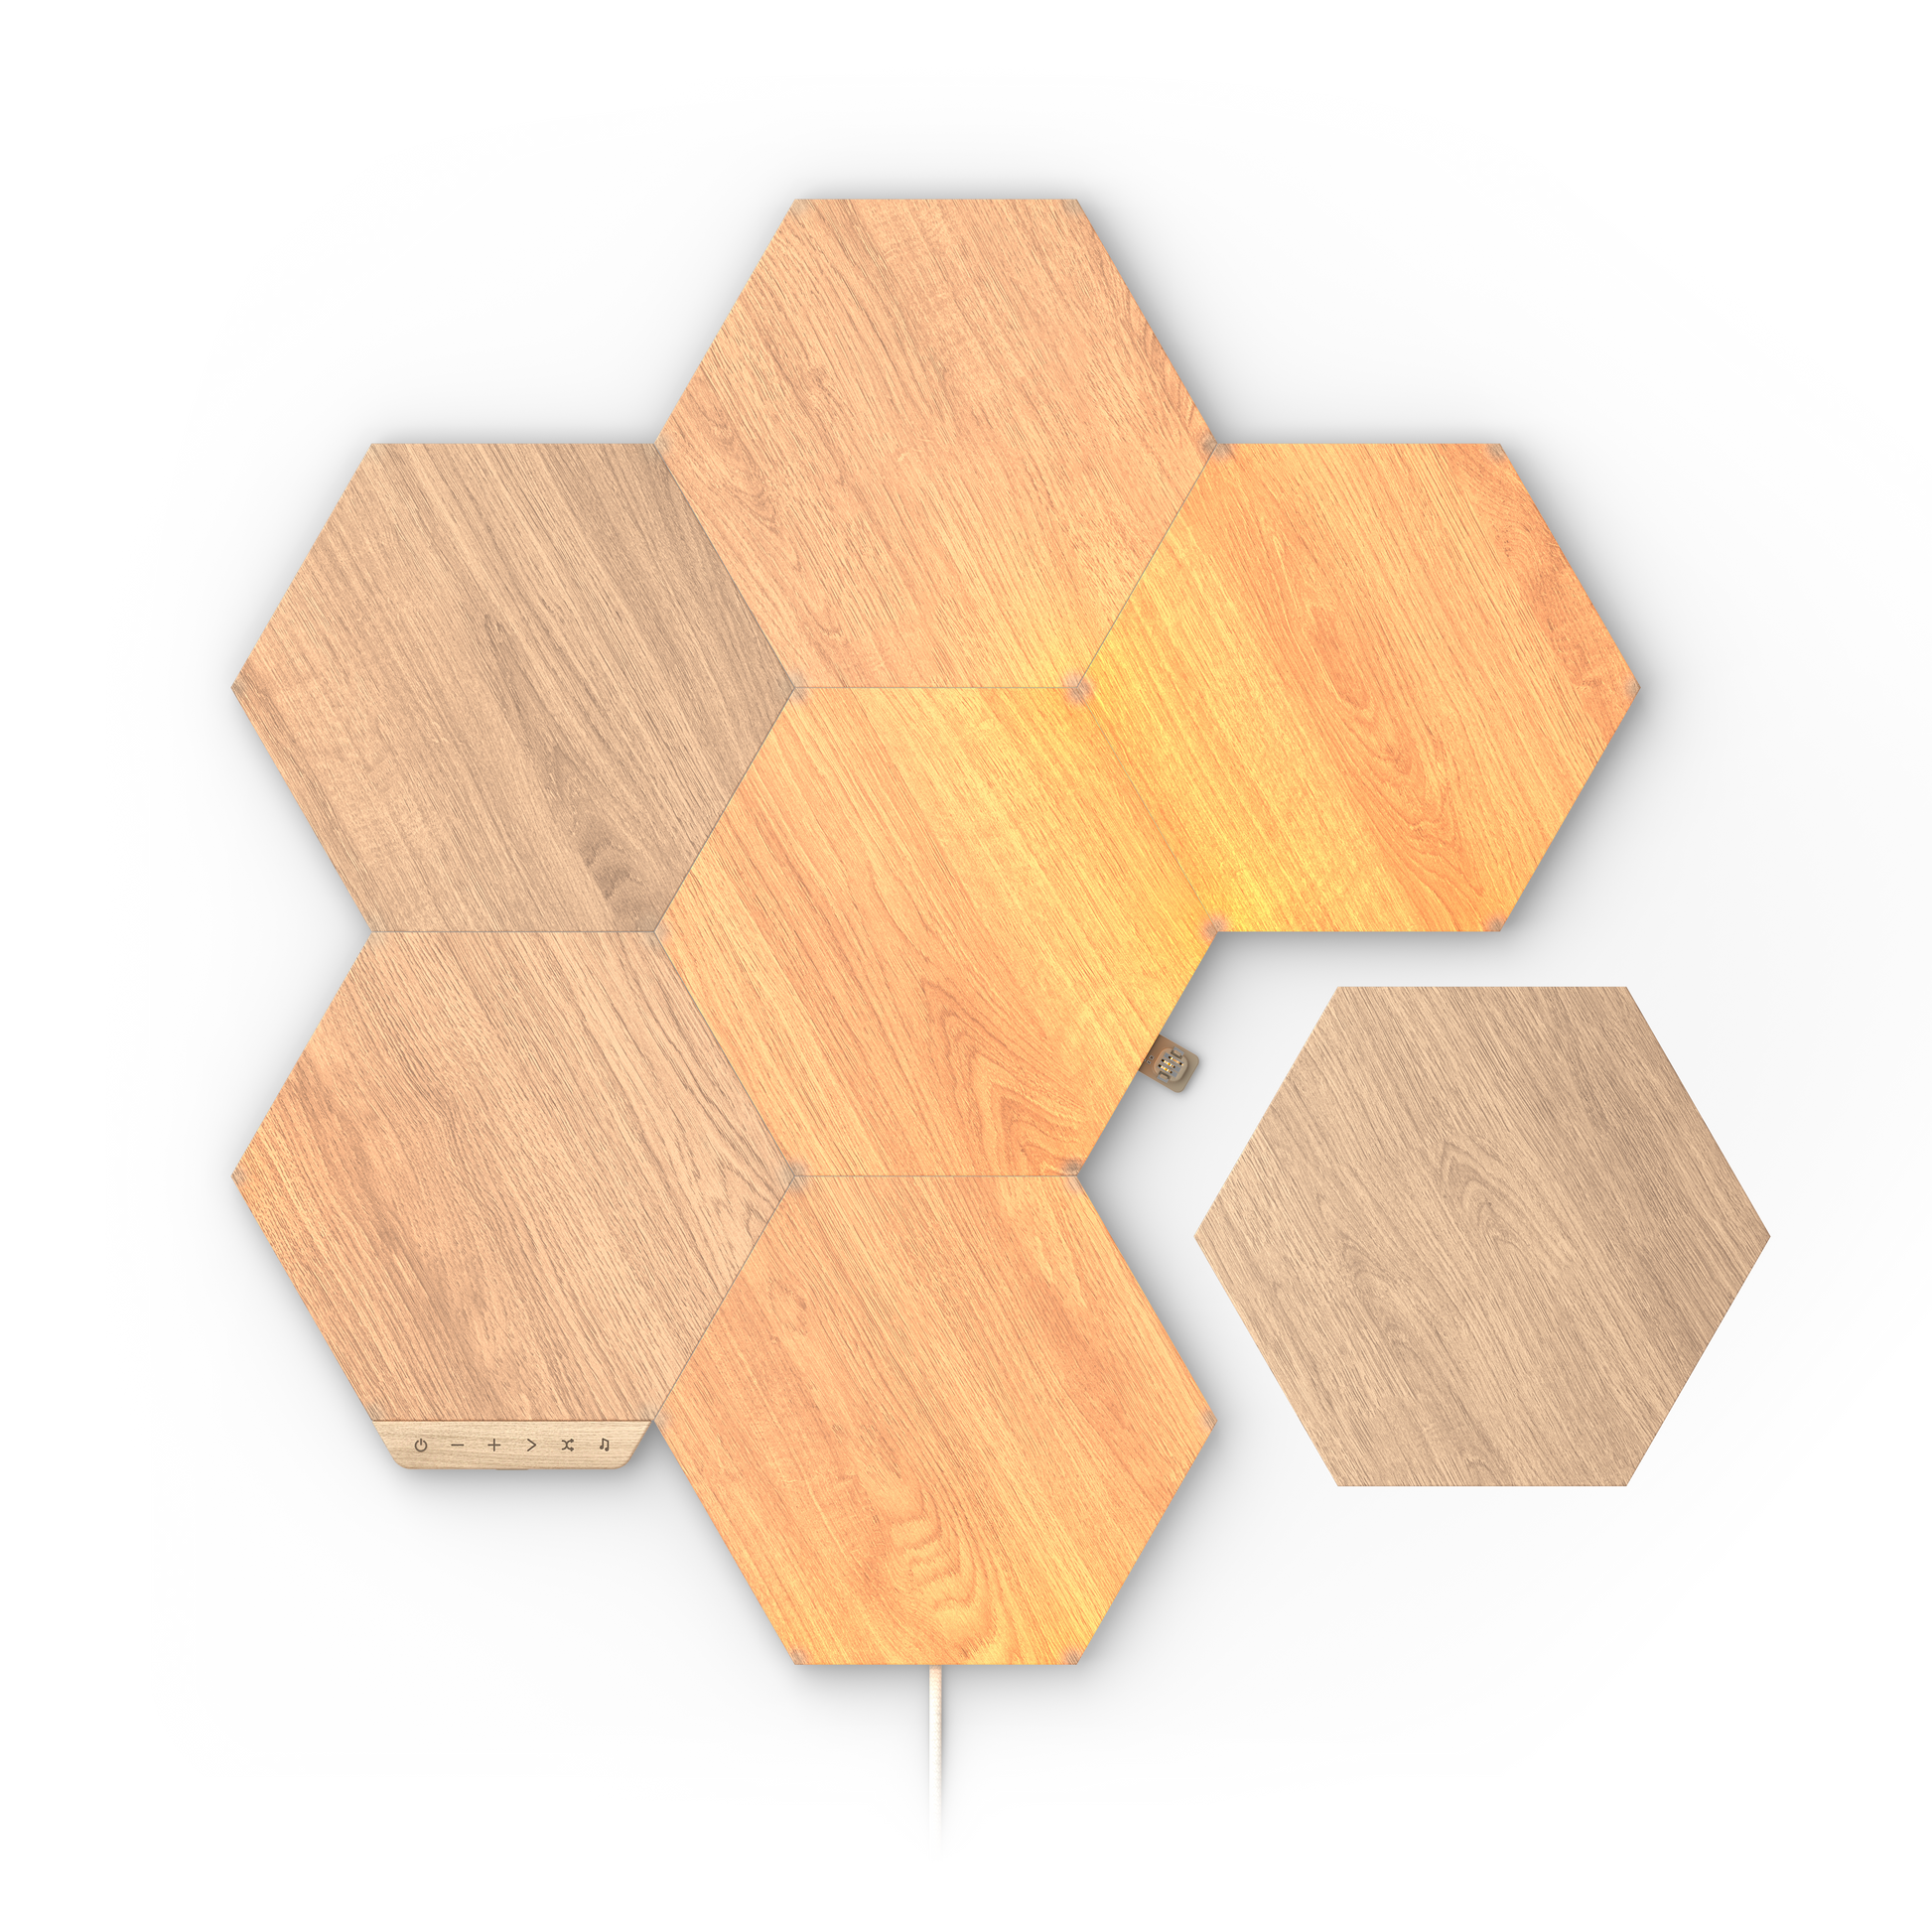
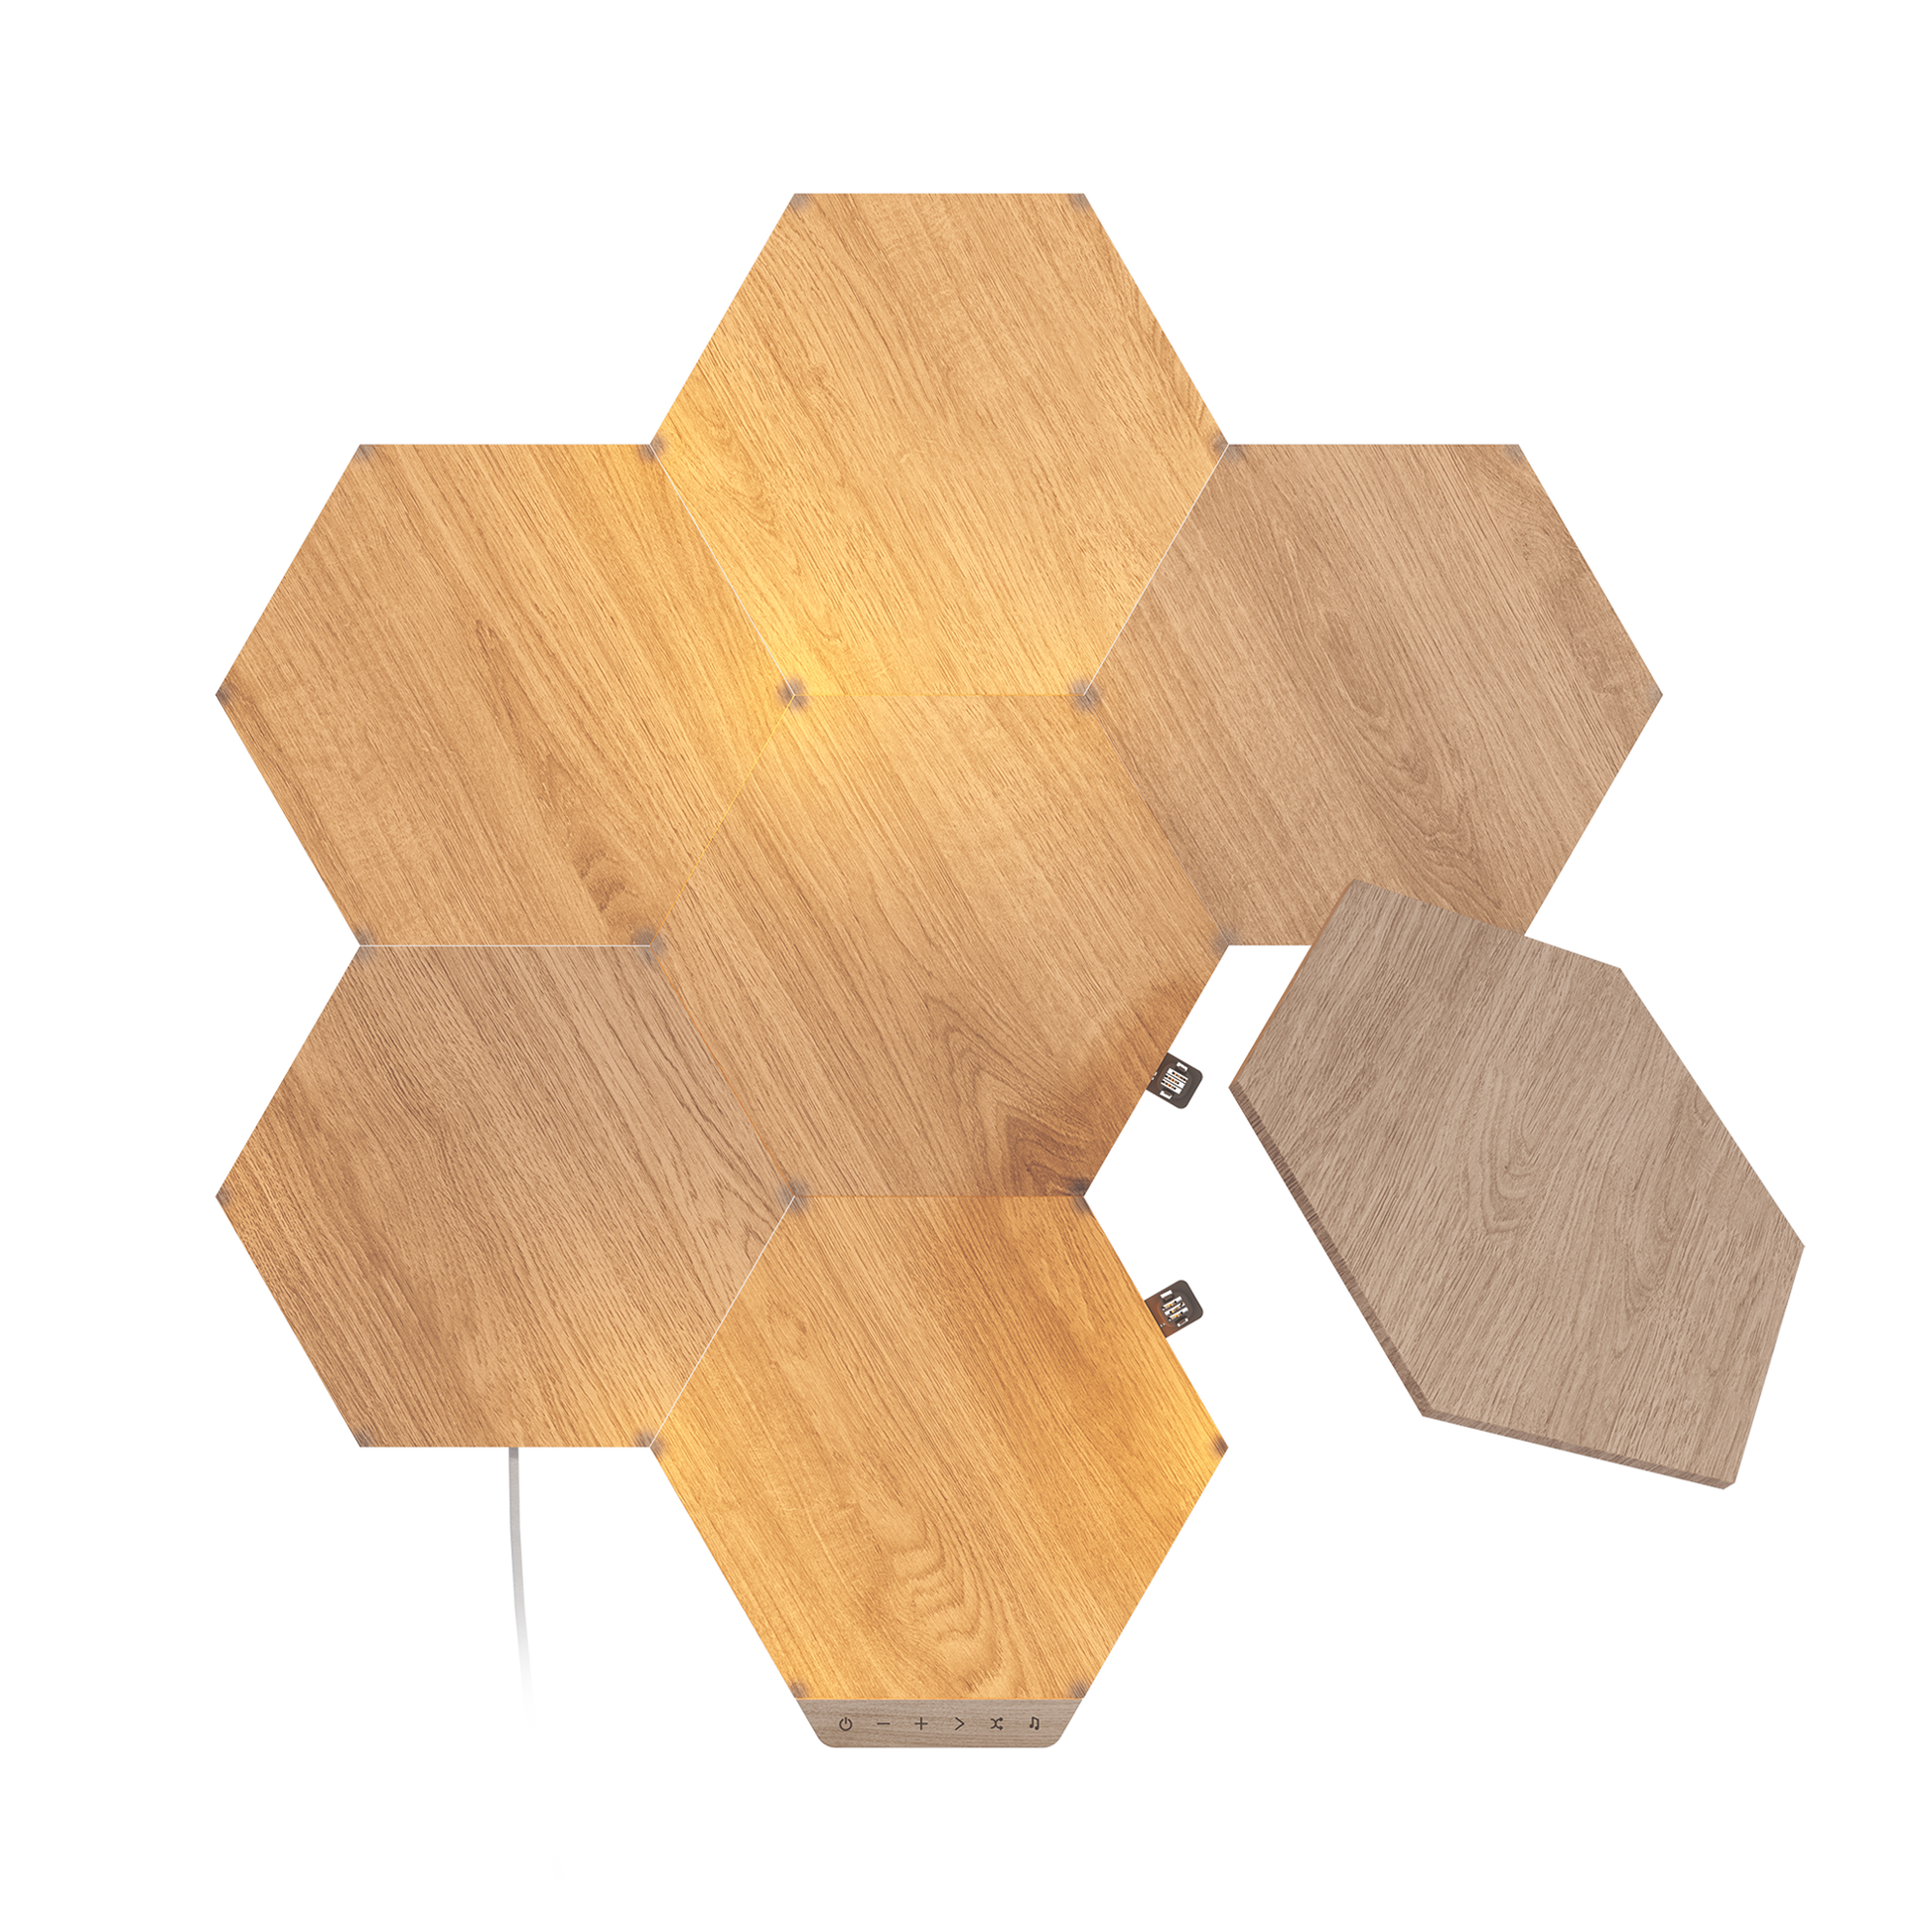
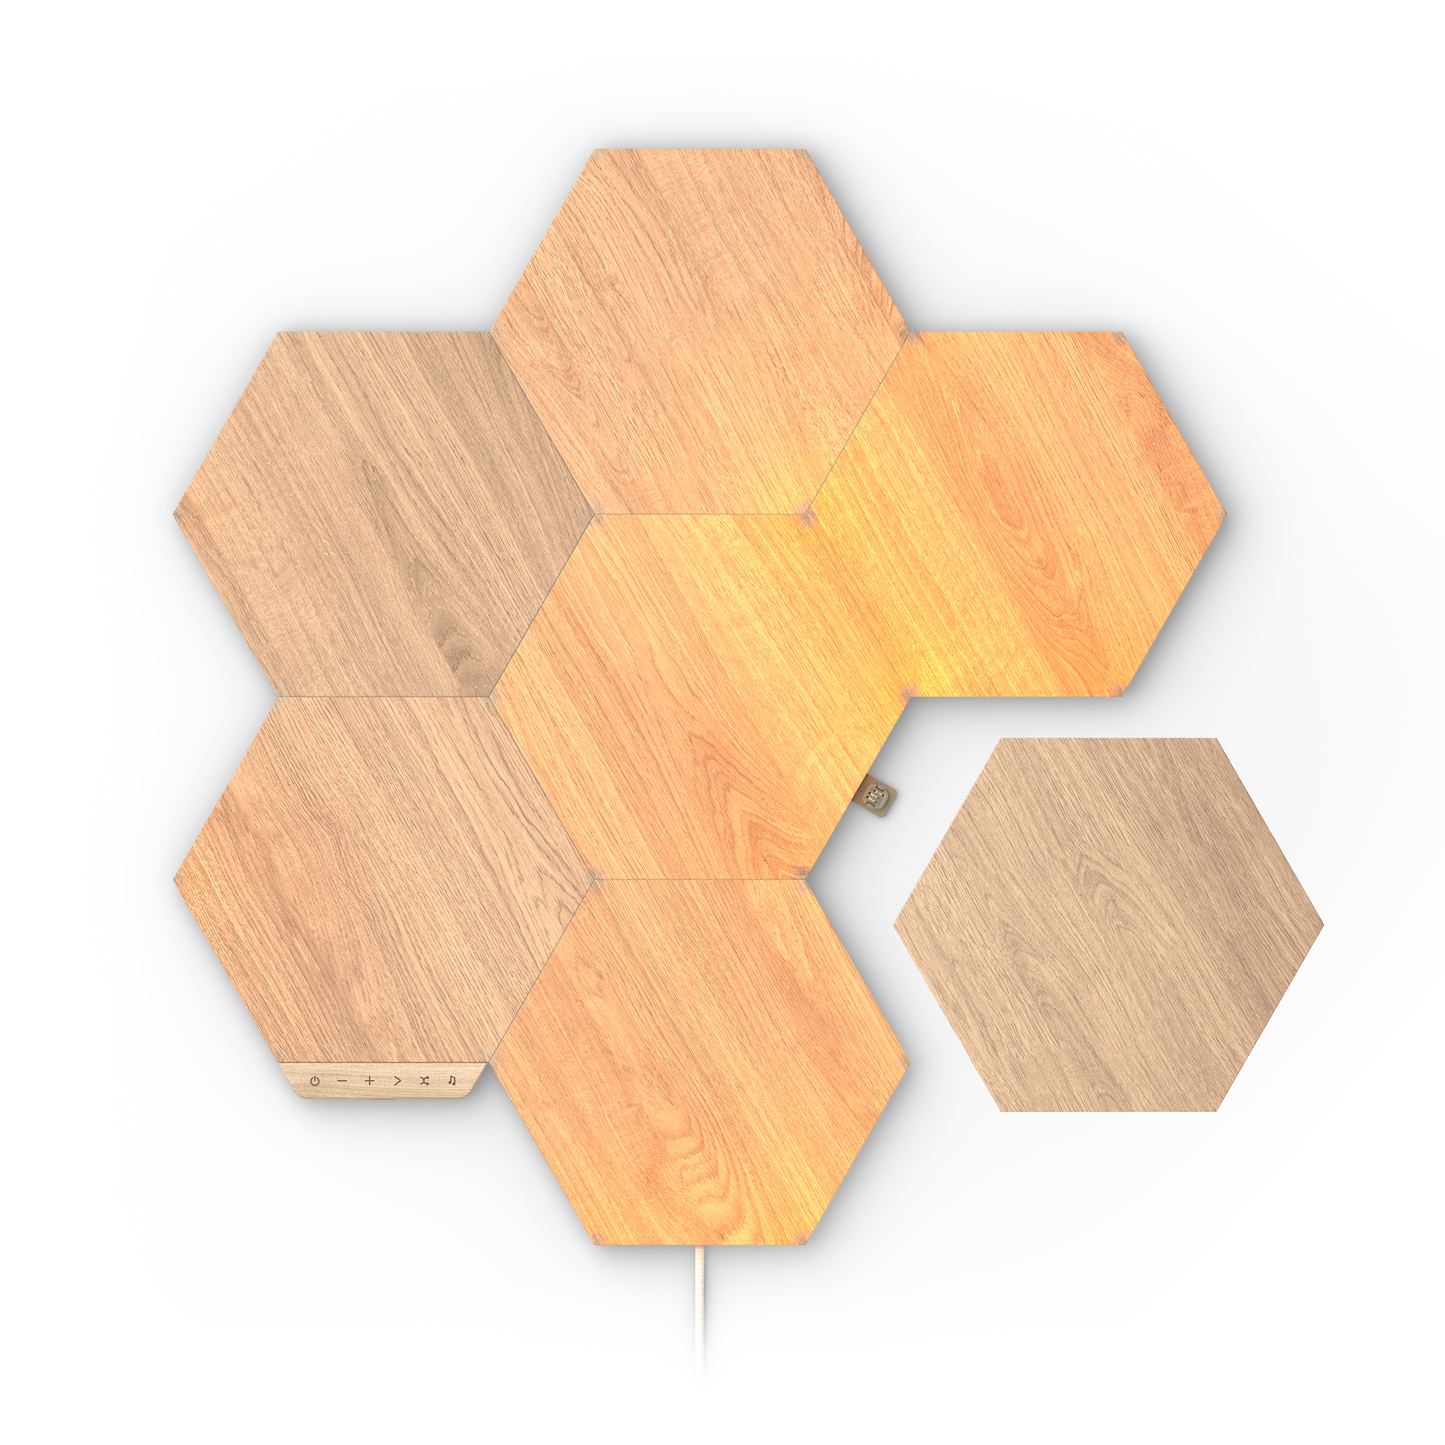
  • 7 x Wood Look Hexagon Light Panels
  • 7 x Mounting Plate
  • 8 x Mounting Tape
  • 8 x Linkers
  • 1 x Controller
  • 1 x Power Supply Unit
  • 1 x Quick Start Guide
  • 100% Authentic
  • 2-Year Local Warranty
  • Fast Shipping from Singapore

DIMENSIONS

Height Per Panel: 7.75"/ 20cm
Width Per Panel: 9"/ 23cm
Panel Thickness: 0.24"/ 0.6cm
Panel Mounted Thickness: 0.39" / 10mm
Weight Per Panel: 141 g
Cable Length: 2.5 m

FEATURES

Luminous Flux Per Panel: 22 lumens
Lifetime: 25,000 hours
Communication Protocol: WiFi (2.4 GHz b/g/n) NOTE: 5 GHz networks are not compatible with Nanoleaf products.
Dimmability: Yes (via App, Voice Control, Touch)
Mounting Type: Via included double-sided tape or screw mounts (screws and anchors not included)
Control: Via Nanoleaf App (Android & iOS) for mobile/tablet or The Nanoleaf Desktop App (Windows & Mac)
Thread Compatibility: Yes, Shapes work as Thread Border Router
Compatibility: Apple Home, Amazon Alexa, Google Home, IFTTT, SmartThings

COLOURS

Colour Temperature: Ambient Whites, 1500-4000K
Colour Channel Configuration: Cool White + Warm White

POWER

Voltage: 100VAC – 240VAC
Max Power Supply Power: 42W
Energy Consumption Per Panel: 22W
Max Panels Per Included 42W PSU: 22 Panels
Max Panels per Controller: 80 Panels

View full details

Key Features

Nature-Inspired Smart Decor

The perfect harmony of art and technology, Nanoleaf Elements are both beautiful wall art and customizable ambient lighting made to look beautiful on or off.

Dynamic Glowing Effects

From recreating the cosy feeling of a glowing Ember to the sense of escape and relaxation of a Calming Waterfall, Nanoleaf Elements comes with 11 curated Scenes.

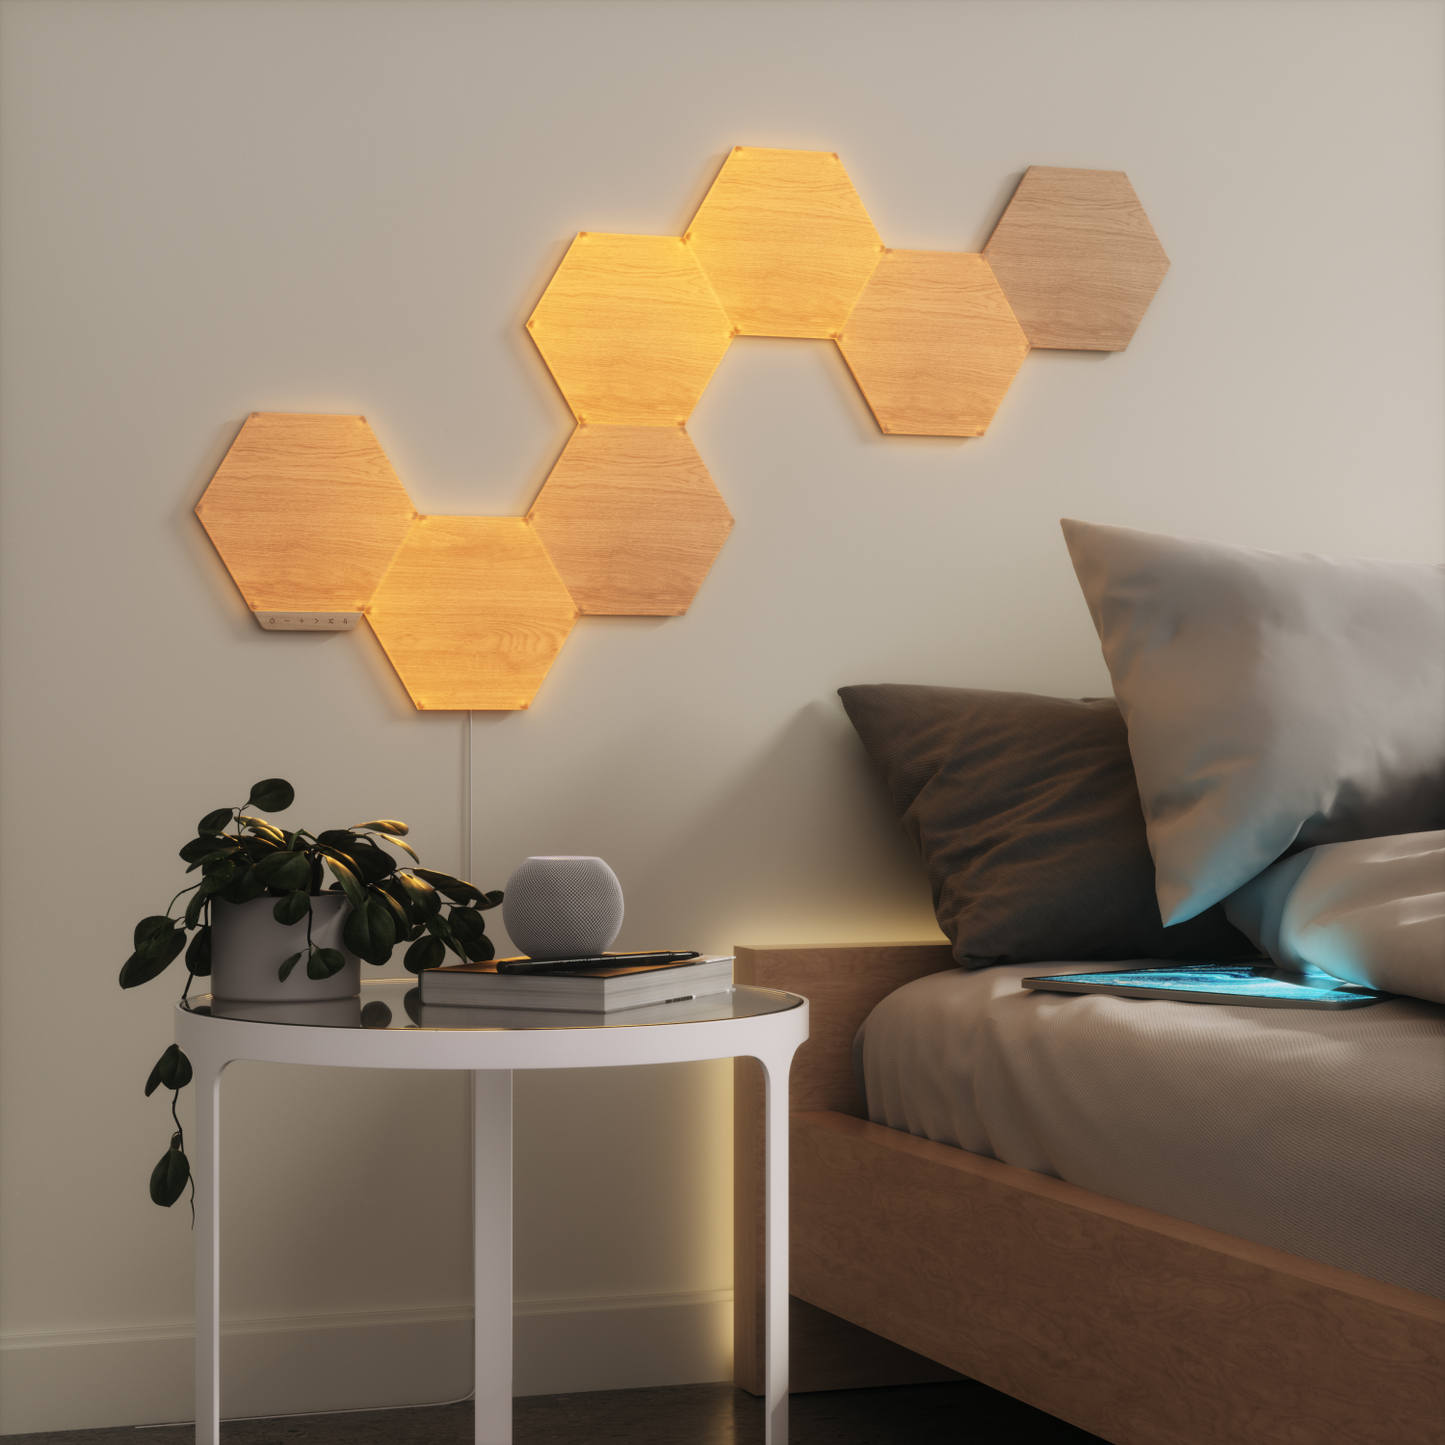
Bespoke Lighting Designs

Design your own unique layouts, then sit back and enjoy the stunning futuristic ambient glow.
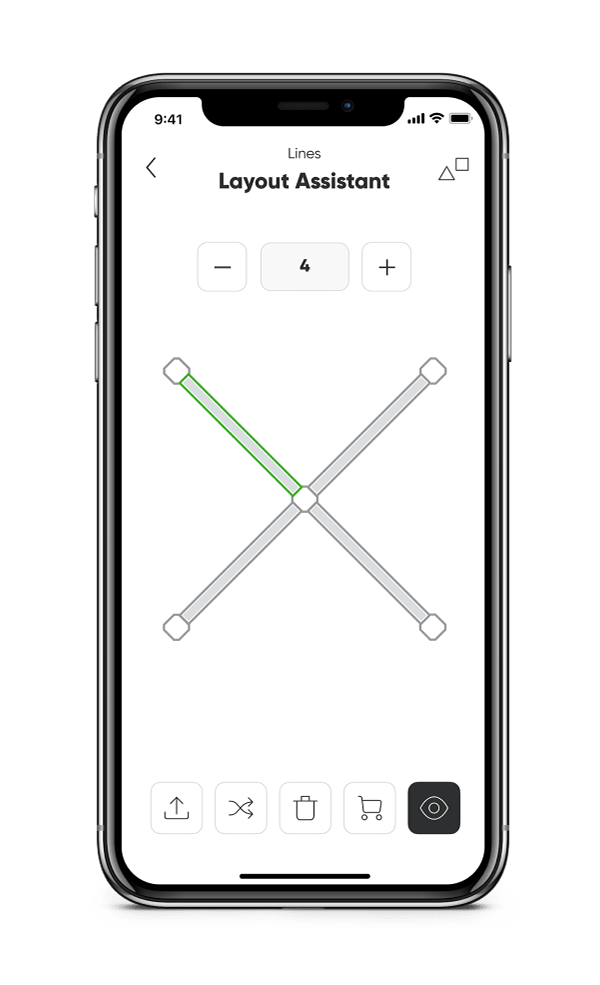
Layout Assistant

Explore different panel layouts with the Layout Assistant, and preview them in your room using the AR feature.

Frequently Asked Questions

How to Pair: Setting up Nanoleaf Elements on iOS

TIP: To pair before mounting, lay out the design for your Nanoleaf Elements on the floor or table and ensure that each panel is connected to at least one adjacent panel with a Linker. You'll need to make sure you have at least one power supply for every 22 panels.

Step 1:
Download the Nanoleaf Smarter Series App. When opening the app for the first time you will be prompted to create an account. This is used to connect to applications like Amazon Alexa, Google Assistant and IFTTT, but is not a mandatory step for setup otherwise. 

Step 2:
Turn on your Elements, and wait for the startup cycle to finish. 
You'll know it's finished once your Elements begin cycling through a lighting animation, and the light on the power button is on and steady. Please note that the power button will begin to flash after 15 min after which you would need to perform another soft reset.

Step 3:
Press "Start Pairing"  in the app. The "Add Accessory" window will appear to scan the HomeKit Setup Code (QR code). This code can be found on the postcard that came with your Elements,  on the back of the Controller, or on the back of your Power Supply. You can also enter your code manually.

Alternatively, Nanoleaf Elements can be paired through NFC pairing, by tapping your phone to the back of the Controller.

Note: NFC will need to be activated on your mobile device in order to use this feature. Only certain phones support NFC pairing. 

Step 4:
Name your Elements, assign them to a specific room, or choose to include it in the list of Favorites in HomeKit.

Step 6:
The Setup Orientation screen will appear in order to confirm the orientation of your Elements with what is displayed on the screen. The LayoutDetect feature automatically detects how your Elements are connected to one another but you may need to rotate the layout on the screen. This ensures that the animations of your Scenes flow in the right directions, and that you can effectively set up and use the Touch Gestures feature!

Step 7:
Enjoy your beautiful Nanoleaf Elements!

How to Pair: Setting up Nanoleaf Elements on Android

TIP: To pair before mounting, lay out the design for your Nanoleaf Elements on the floor or table and ensure that each panel is connected to at least one adjacent panel with a Linker. You'll need to make sure you have at least one power supply for every 22 panels.

Step 1:
Download the Nanoleaf Smarter Series App. When opening the app for the first time you will be prompted to create an account. This is used to connect to applications like Amazon Alexa, Google Assistant and IFTTT, but is not a mandatory step for setup otherwise. 

Step 2:
Plug your Nanoleaf Elements into power. Wait for the boot-up cycle to finish and until the light on the Controller is on and steady. Please note that the light on the Controller will begin to flash after 15 min after which you would need to perform another soft reset.

Step 3:
Press "Start Pairing" in the app (NOTE: if this prompt does not appear automatically, you can find it by going into the "...More" tab in the bottom right corner, tapping "Devices", then tapping the "+" in the bottom right corner.)

Step 4:
Select your pairing option: QR code, NFC Tap, or Manual Input. Your pairing and QR code can be found on the postcard that came with your Elements, on the back of the Controller, and on the back of the Power Supply.
Alternatively, Nanoleaf Elements can be paired through NFC pairing, by tapping your phone to the back of the Controller.

Note: NFC will need to be activated on your mobile device in order to use this feature. Only certain phones support NFC pairing 

Step 5:
Select the network that you want to connect your Elements to (NOTE: this must be a 2.4GHz network)

Step 6:
Name your Elements, and assign them to a room.

Step 7:
The Setup Orientation screen will appear in order to confirm the orientation of your Elements with what is displayed on the screen. The LayoutDetect feature automatically detects how your Elements are connected to one another but you may need to rotate the layout on the screen. This ensures that the animations of your Scenes flow in the right directions.

Step 8:
Enjoy your Elements!

How to enable Hotspot Mode on Nanoleaf Elements

What is Hotspot Mode?

In Hotspot Mode, the Elements Controller will begin to broadcast its own WiFi, with no internet connection. This is ideal if you want to control your Elements with the Nanoleaf App, but not connect to the internet, or for areas where your internet connection may not be very strong.

How to enable Hotspot Mode:

  1. Press and hold the Rhythm and Power buttons together for 30 seconds. 
  2. All 6 buttons on the Controller will begin to flash 5 times, indicating that Hotspot Mode has been activated and is being broadcasted. 
  3. Go to your device's WiFi settings: the Elements WiFi will appear in the list of available networks as Nanoleaf Elements ####. 
  4. Tap on the Elements WiFi to connect.
  5. Open the Nanoleaf App > More... > Devices/ My Devices.
  6. Tap on the "+" icon, then tap "Elements".
  7. Selecting your Elements device and input the pairing code.
  8. Name your Elements.
  9. When you see the “Configure Your Device” screen, rotate the layout on the screen to match your layout in real life.
  10. Tap “Next” and the pairing process is complete!
You're now a Hotspot hot-shot!

Reset Your Nanoleaf Elements

When to perform a reset?

If your Elements are experiencing any unusual issues, our support team may direct you to perform a soft or hard reset to help solve the problem.

Additionally, as your Elements can only be connected to one WiFi network at a time, the following steps will reset them so they can be configured onto a new network.

Reset: This will reset WiFi and all pairing information for your Elements, but will keep your saved scenes. 

  1. Make sure that your Elements are plugged in to the wall and have booted up.
  2. Press and hold the Power and "+" buttons for 10 seconds. The LEDs on the Controller will start flashing rapidly.
  3. Release the two buttons, and after a few moments the Power button LED will remain on and steady.
  4. Delete your Elements from the Nanoleaf App, and pair again.

Other configuration data is backed up to your Nanoleaf account if you have cloud sync enabled.

Elements Controller LEDs - What do the lights mean?

The LED on the Power button on the Element Controller indicates whether your Elements are connected to WiFi or not.

Here are what the 4 different states mean:

1. Steady On: Elements are not connected to a WiFi network and are searching for a network.

2. Off: Elements were able to successfully connect to a WiFi network.

3. Flashing (every ~1s): Elements were not connected to a WiFi network within 30 minutes of being connected to power. 

To resolve this, unplug your Elements from power and plug back in. After the boot up, the LED will change to On.

4. Flashing (every ~4s): Elements were connected to a WiFi network, but are unable to reconnect. 

Generally this occurs if the settings on your router or WiFi have changed. To resolve this, perform a soft reset, and pair again.

Elements Linkers

Linkers are the small connectors that connect the Elements panel to each other, as well as to the Controller.

Easter Egg: Elements and Shapes are designed with Connect+ technology, which means you can technically connect them together into one layout! Although the Linkers for each product are very similar there is a small difference, so we'd recommend using the Elements Linkers when connecting them together for the most ideal connection.