


Nanoleaf
Nanoleaf Shapes Hexagon Starter Kit (9 Panels)
Nanoleaf Shapes Hexagon Starter Kit (9 Panels)
Couldn't load pickup availability
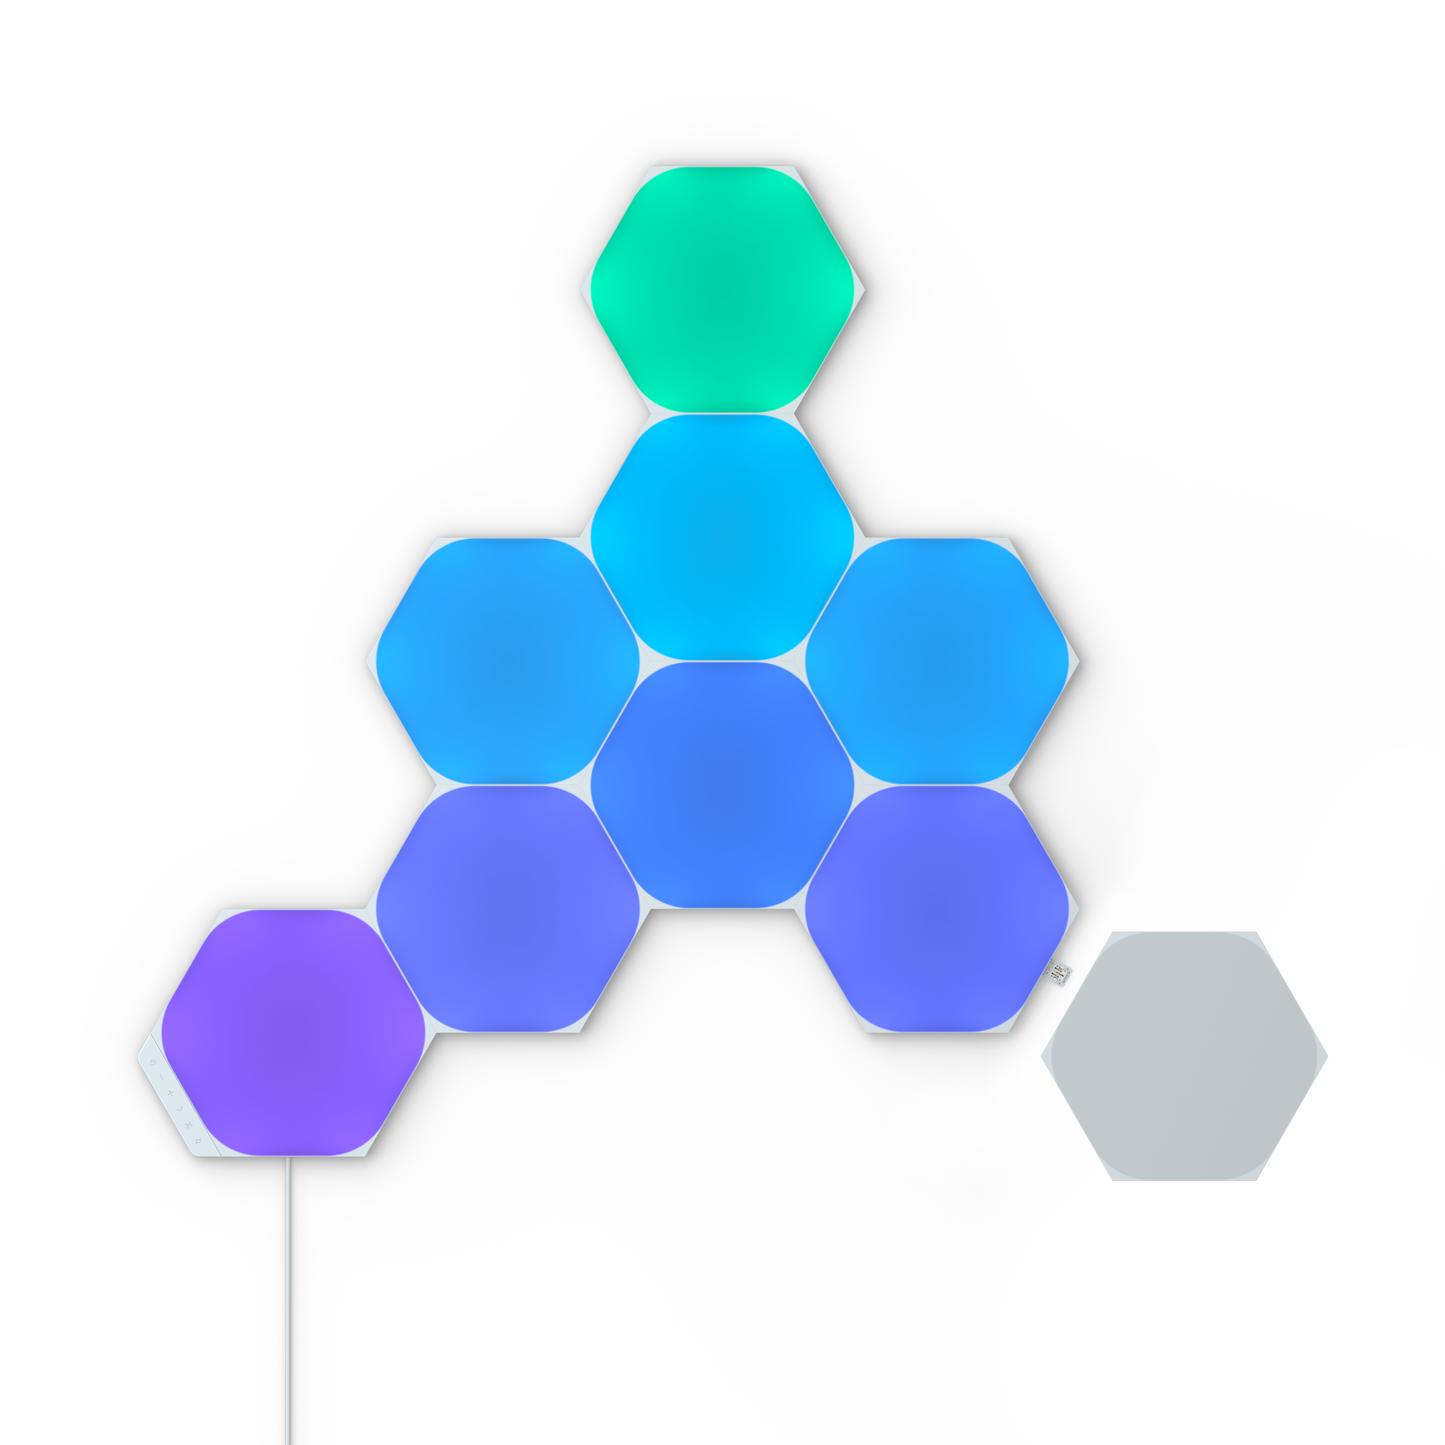
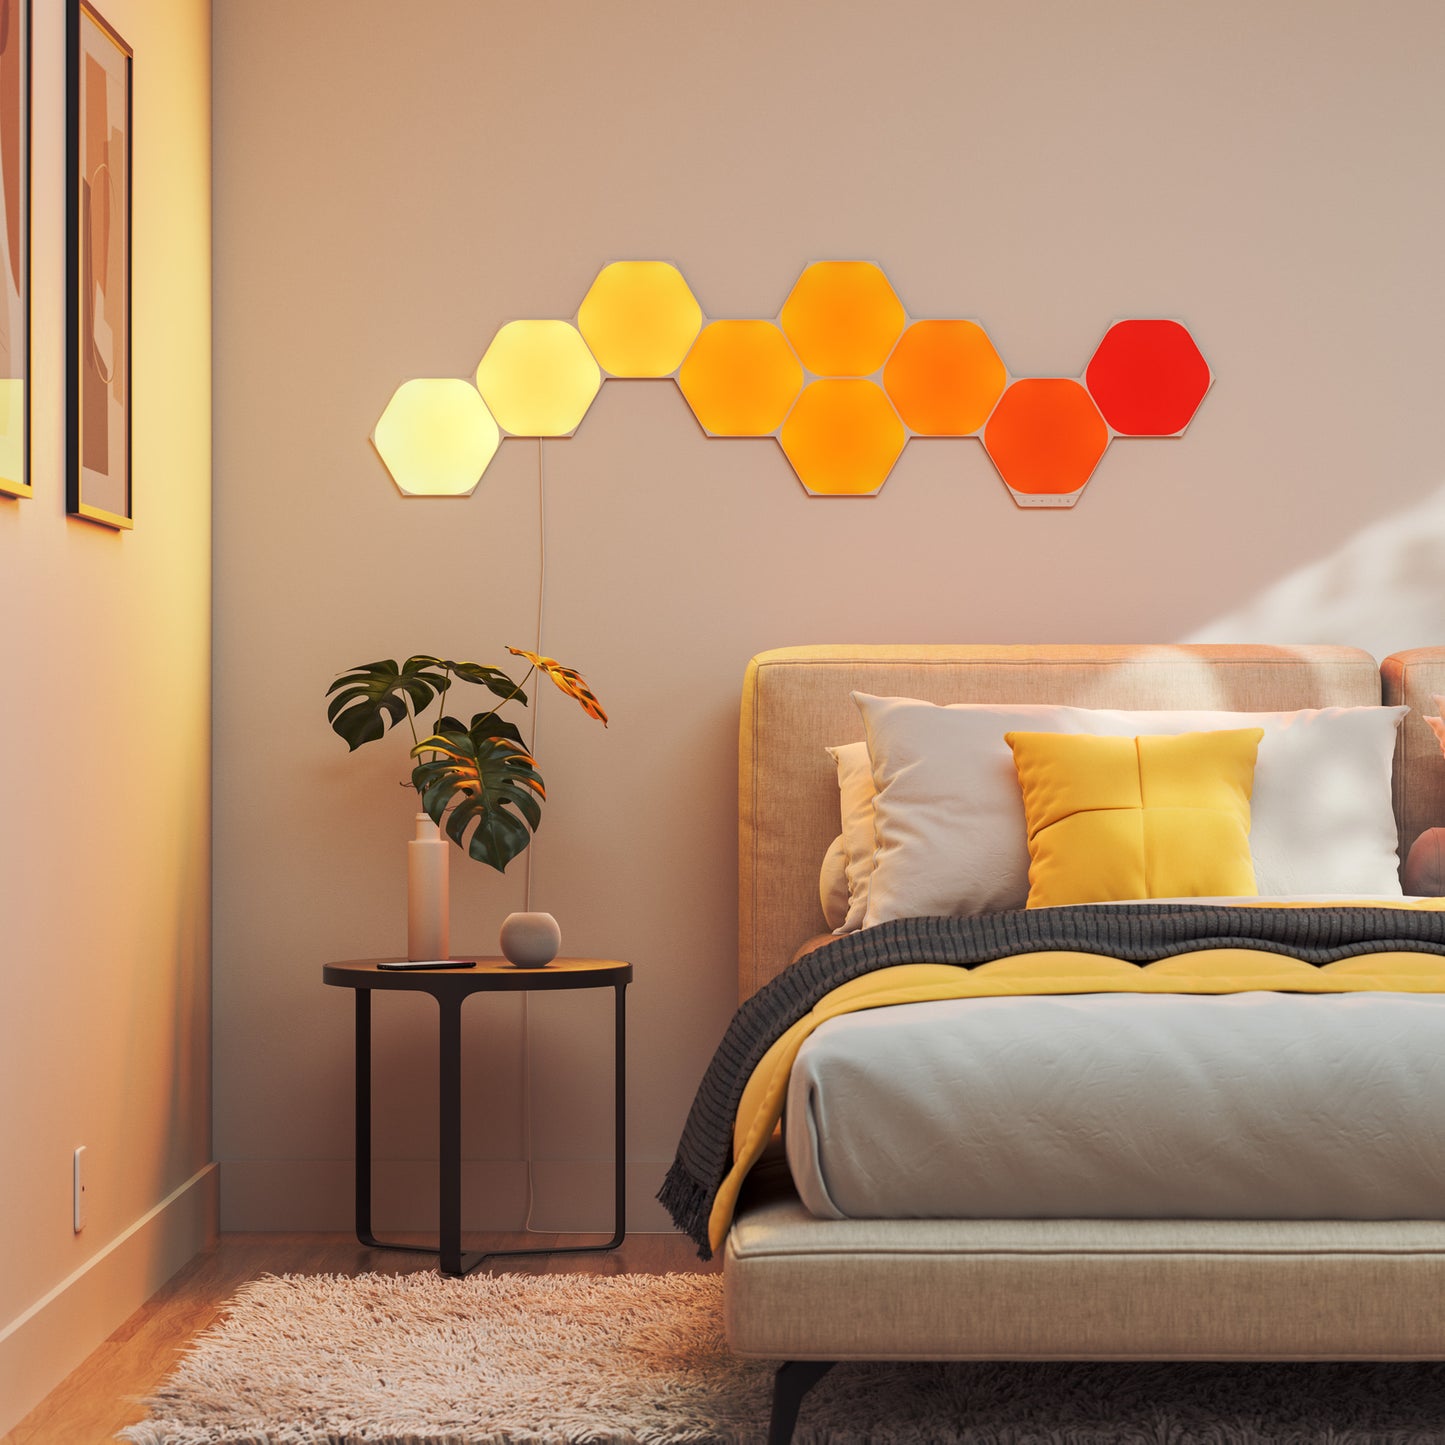
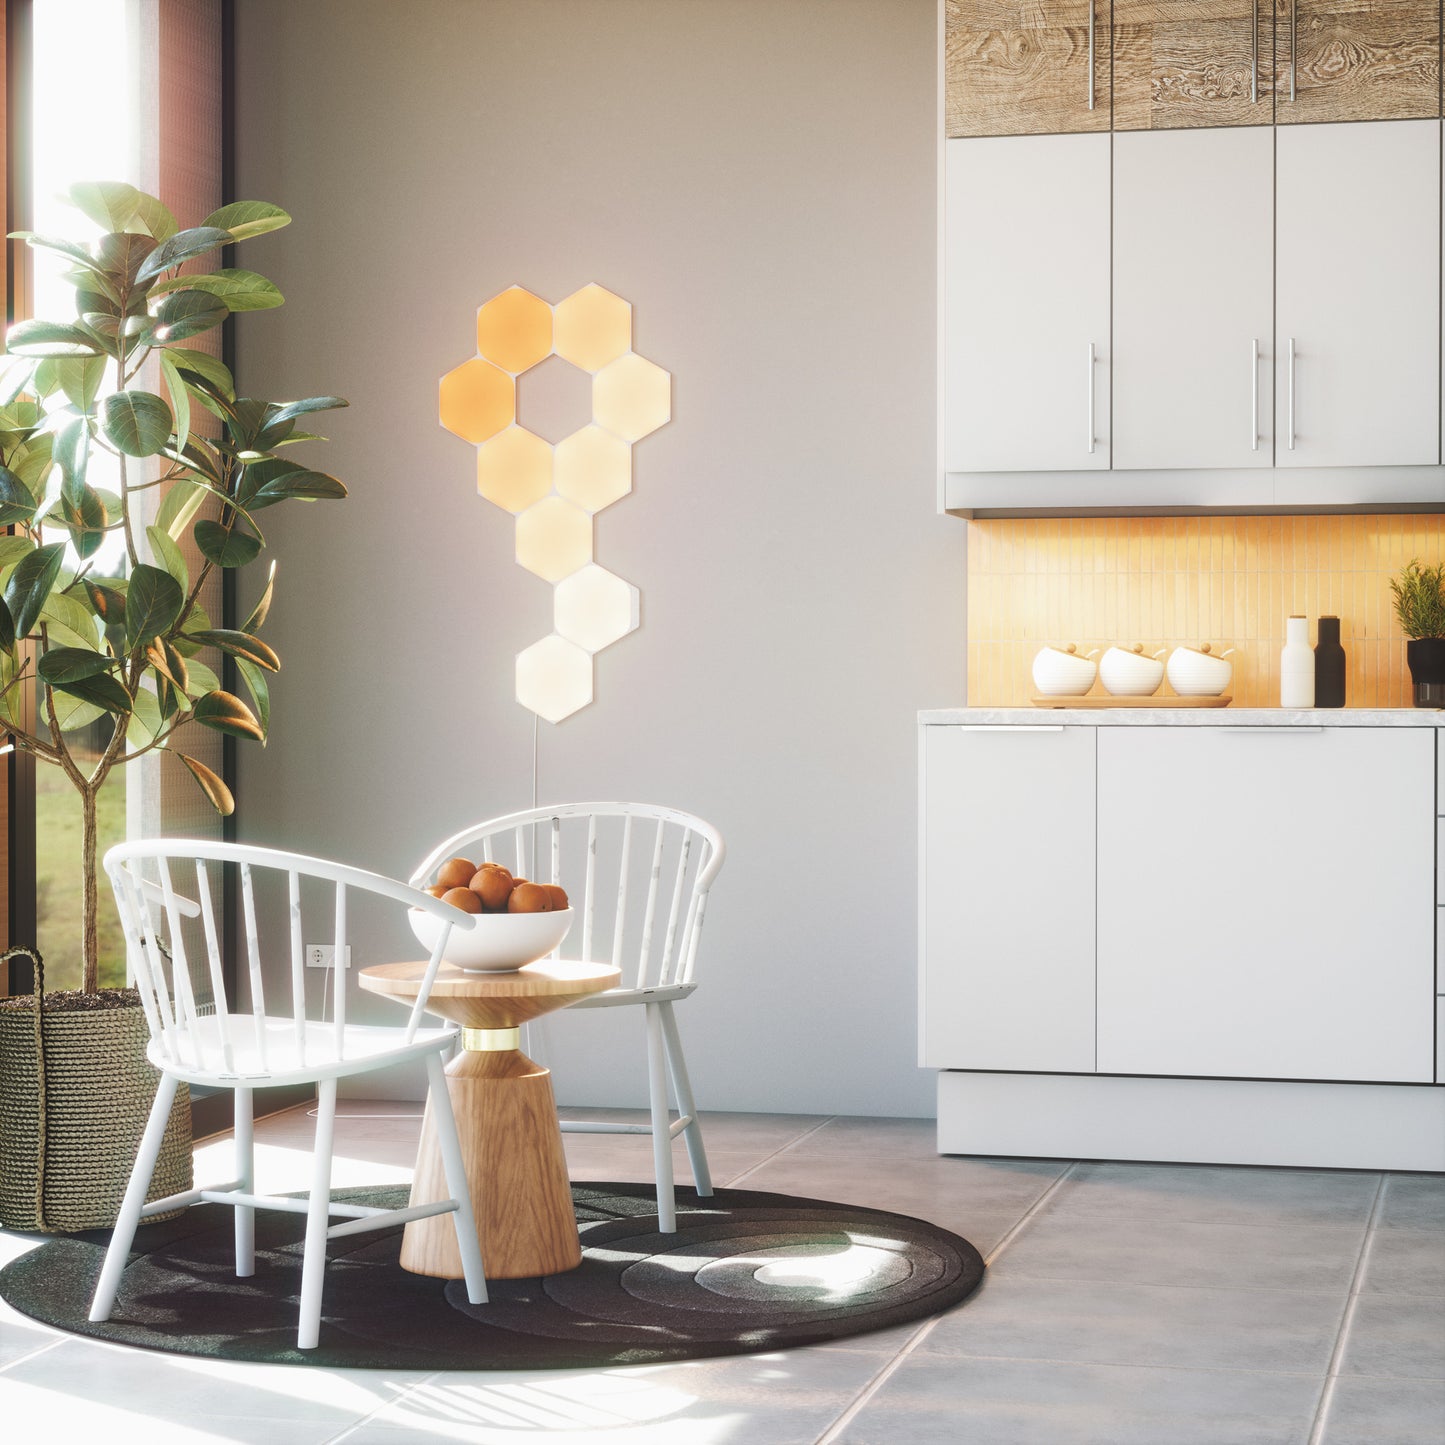
Nanoleaf Shapes Hexagons Starter Kit with an ultra-thin panel design come with everything you need to create your own statement or accent lighting. Mix and match shapes to create next-level designs. Packed with all the smart features, such as Rhythm Music Visualiser, Screen Mirror, Touch, Schedules, and more! Instal on any flat surface with included Mounting Tape; no additional tools required. Compatible with all Connect+ products like Shapes and Elements.
Compliant to Singapore IMDA standards, with SAFETY mark certification.
What's in the box
- 9 x Hexagon Light Panels
- 10 x Linkers
- 9 x Mounting Plate
- 10 x Mounting Tape
- 1 x Controller
- 1 x Power Supply Unit
- 1 x Quick Start Guide
 100% Authentic
 2-Year Local Warranty
 Fast Shipping from Singapore


DIMENSIONS
DIMENSIONS
Height Per Panel: 7.75” / 20cm
Width Per Panel: 9” / 23cm
Edge Thickness: 0.24” / 0.6cm
Mounted Thickness: 0.39” / 1cm
Weight Per Panel: 208g
Cable Length: 2.5m
FEATURES
FEATURES
Luminous Flux Per Panel: 100 lumens
Lifetime: 25,000 hours
Communication Protocol: WiFi (2.4 GHz b/g/n) NOTE: 5 GHz networks are not compatible with Nanoleaf products.
Dimmability: Yes (via App, Voice Control, Touch)
Mounting Type: Via included double-sided tape or screw mounts (screws and anchors not included)
Control: Via Nanoleaf App (Android & iOS) for mobile/tablet or The Nanoleaf Desktop App (Windows & Mac)
Thread Compatibility: Yes, Shapes work as Thread Border Router
Compatibility: Apple Home, Amazon Alexa, Google Home, IFTTT, physical controller, Nanoleaf Remote, Razer Synapse, SmartThings, Homey
COLOURS
COLOURS
Colour Temperature: 1200K – 6500K
Colour Channel Configuration: RGBW
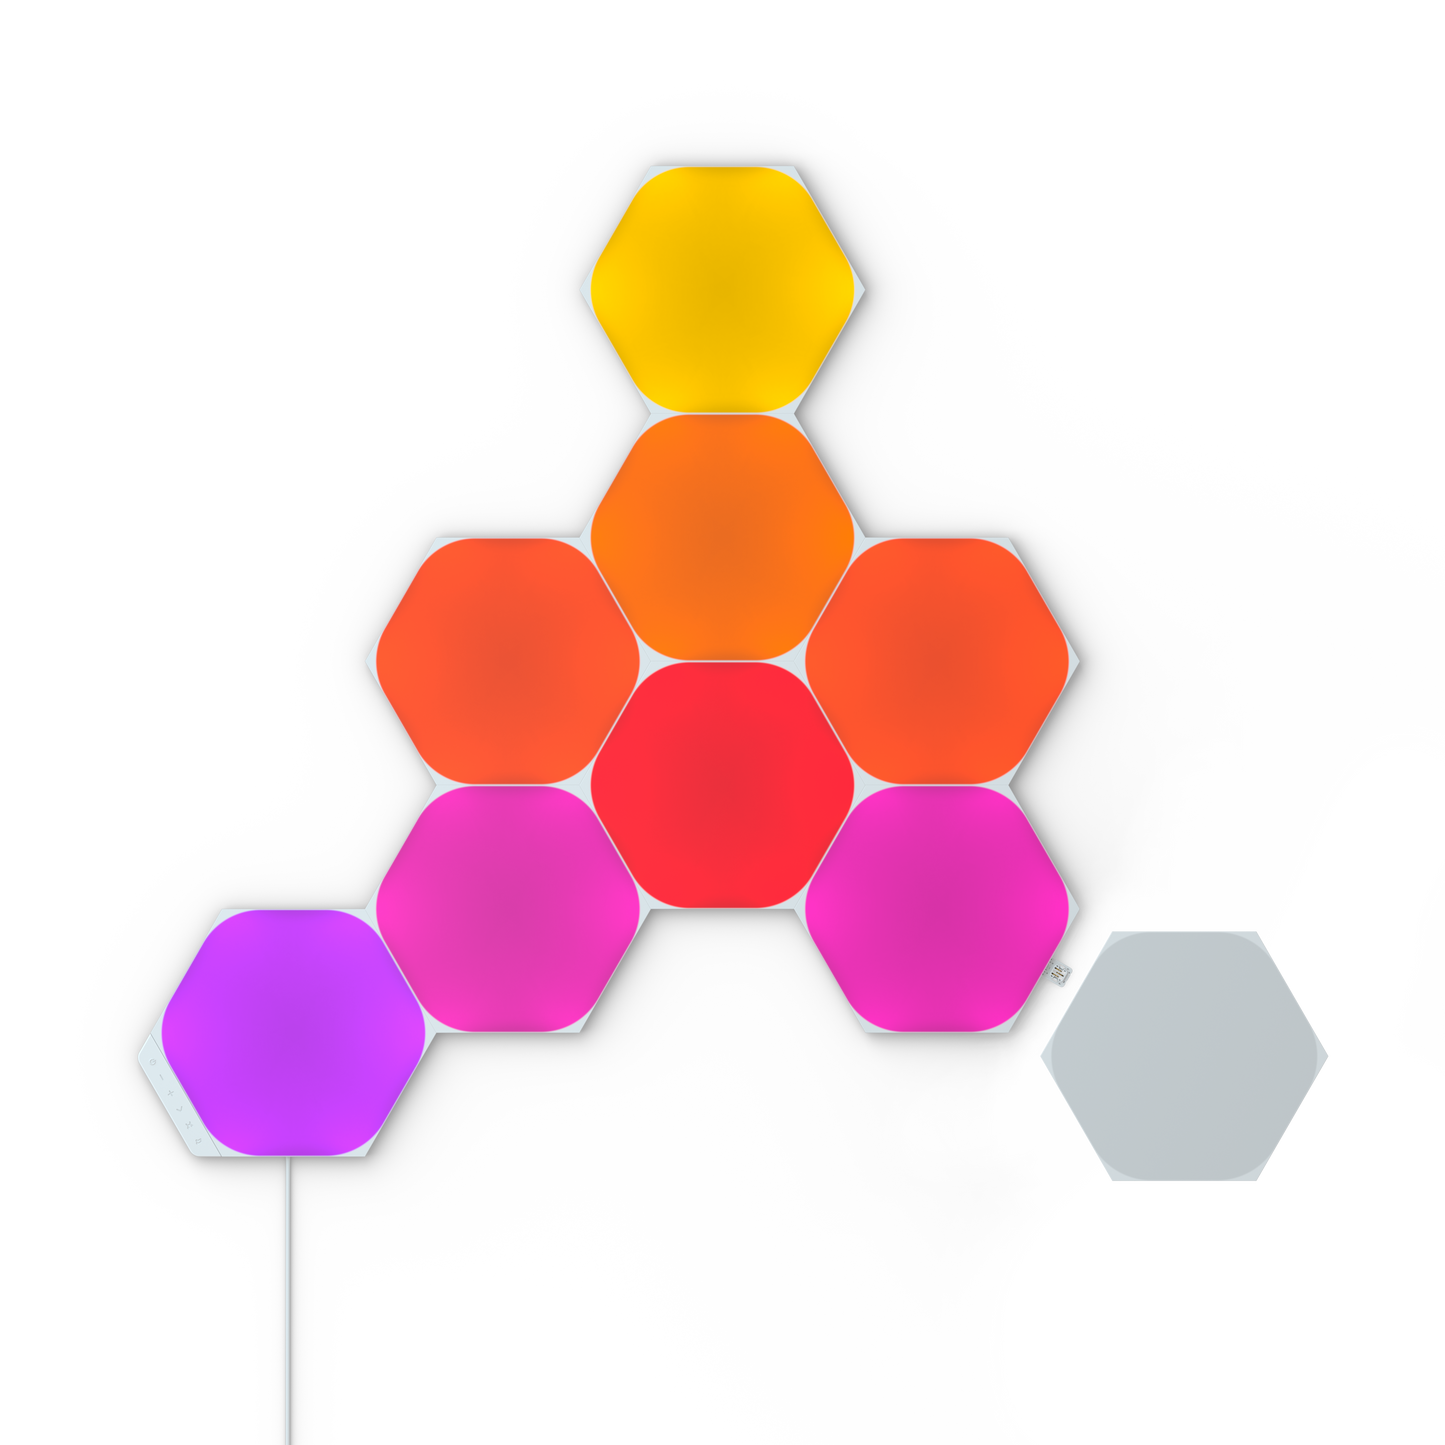
Max Colours: More than 16 million
Colour Rendering Index (CRI): 80
POWER
POWER
Voltage: 100VAC – 240VAC
Max Power Supply Power: 42W
Energy Consumption Per Panel: 2W
Max Panels Per Included 42W PSU: 21 Panels
NOTE:If combining shapes, make sure you have enough power
Max Panels per Controller: 500 Hexagons
KEY FEATURES
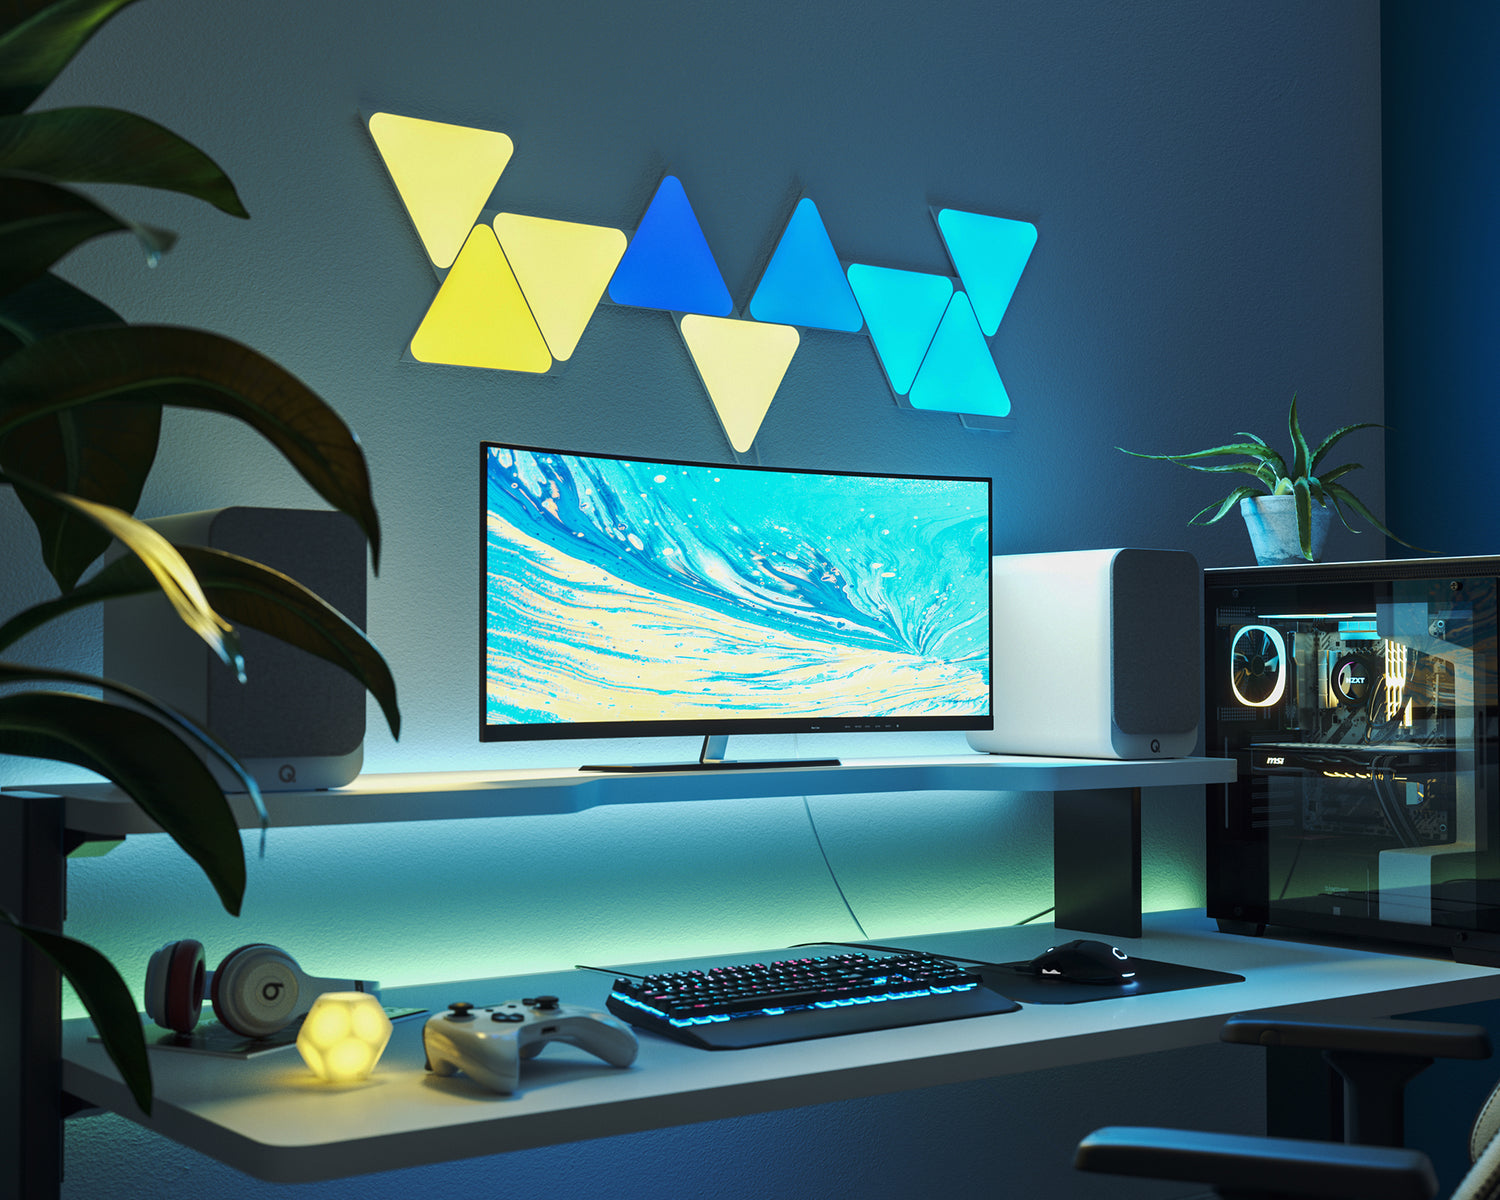
Connect+ Technology
Create your own completely unique layouts with modular panels, with Connect+ technology for endless design combinations. Mix and match different Shapes for the ultimate set up.
Touch-Enabled Experience
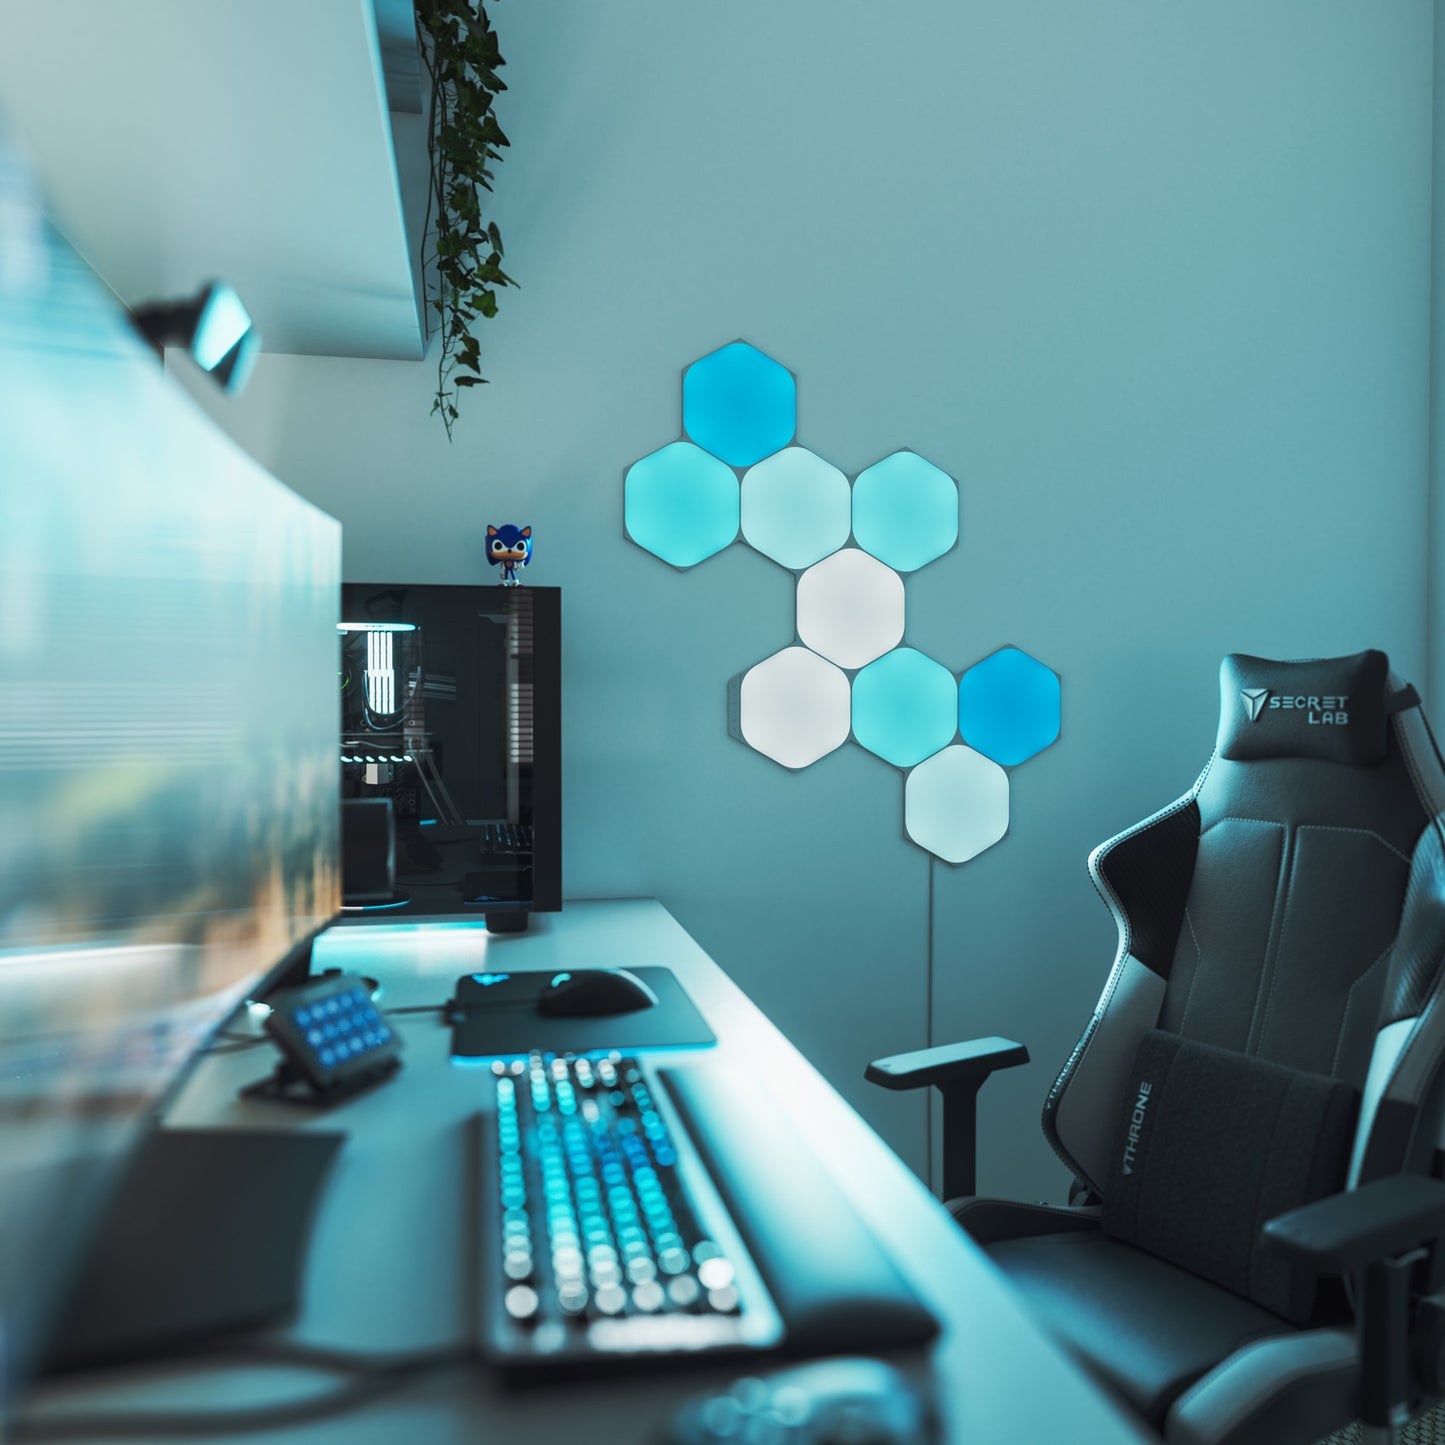
Adjust your lighting, create dynamic effects and play interactive games with touch-enabled controls.
Screen Mirroring
The colours from your screen are reflected on your panels for an immersive experience. Available through the Nanoleaf Desktop App.
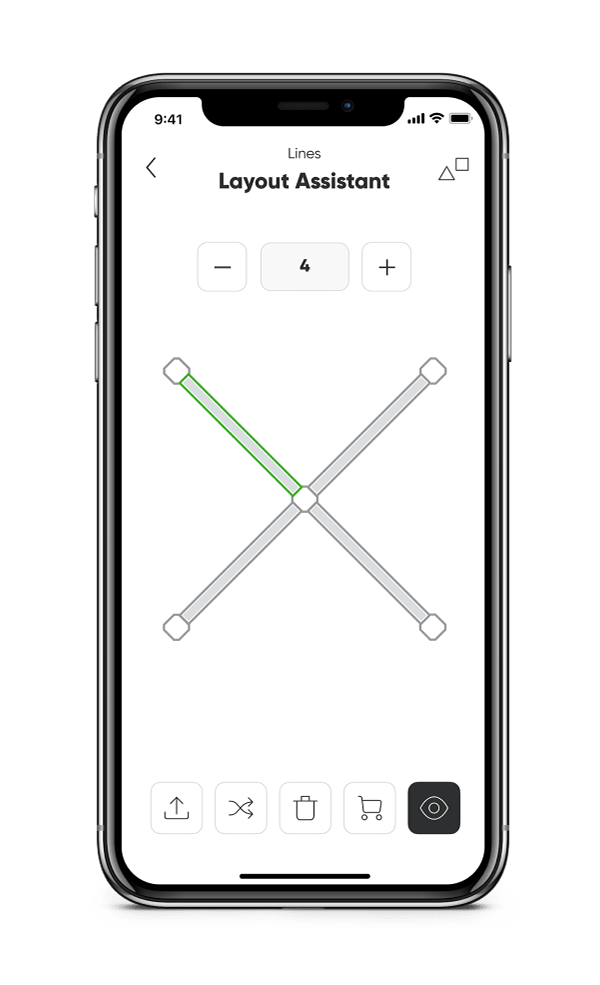
Layout Assistant
Explore different panel layouts with the Layout Assistant, and preview them in your room using the AR feature.
